
I found a nice 80’s fuel pump that I want to re-use as a electric vehicle charging station.
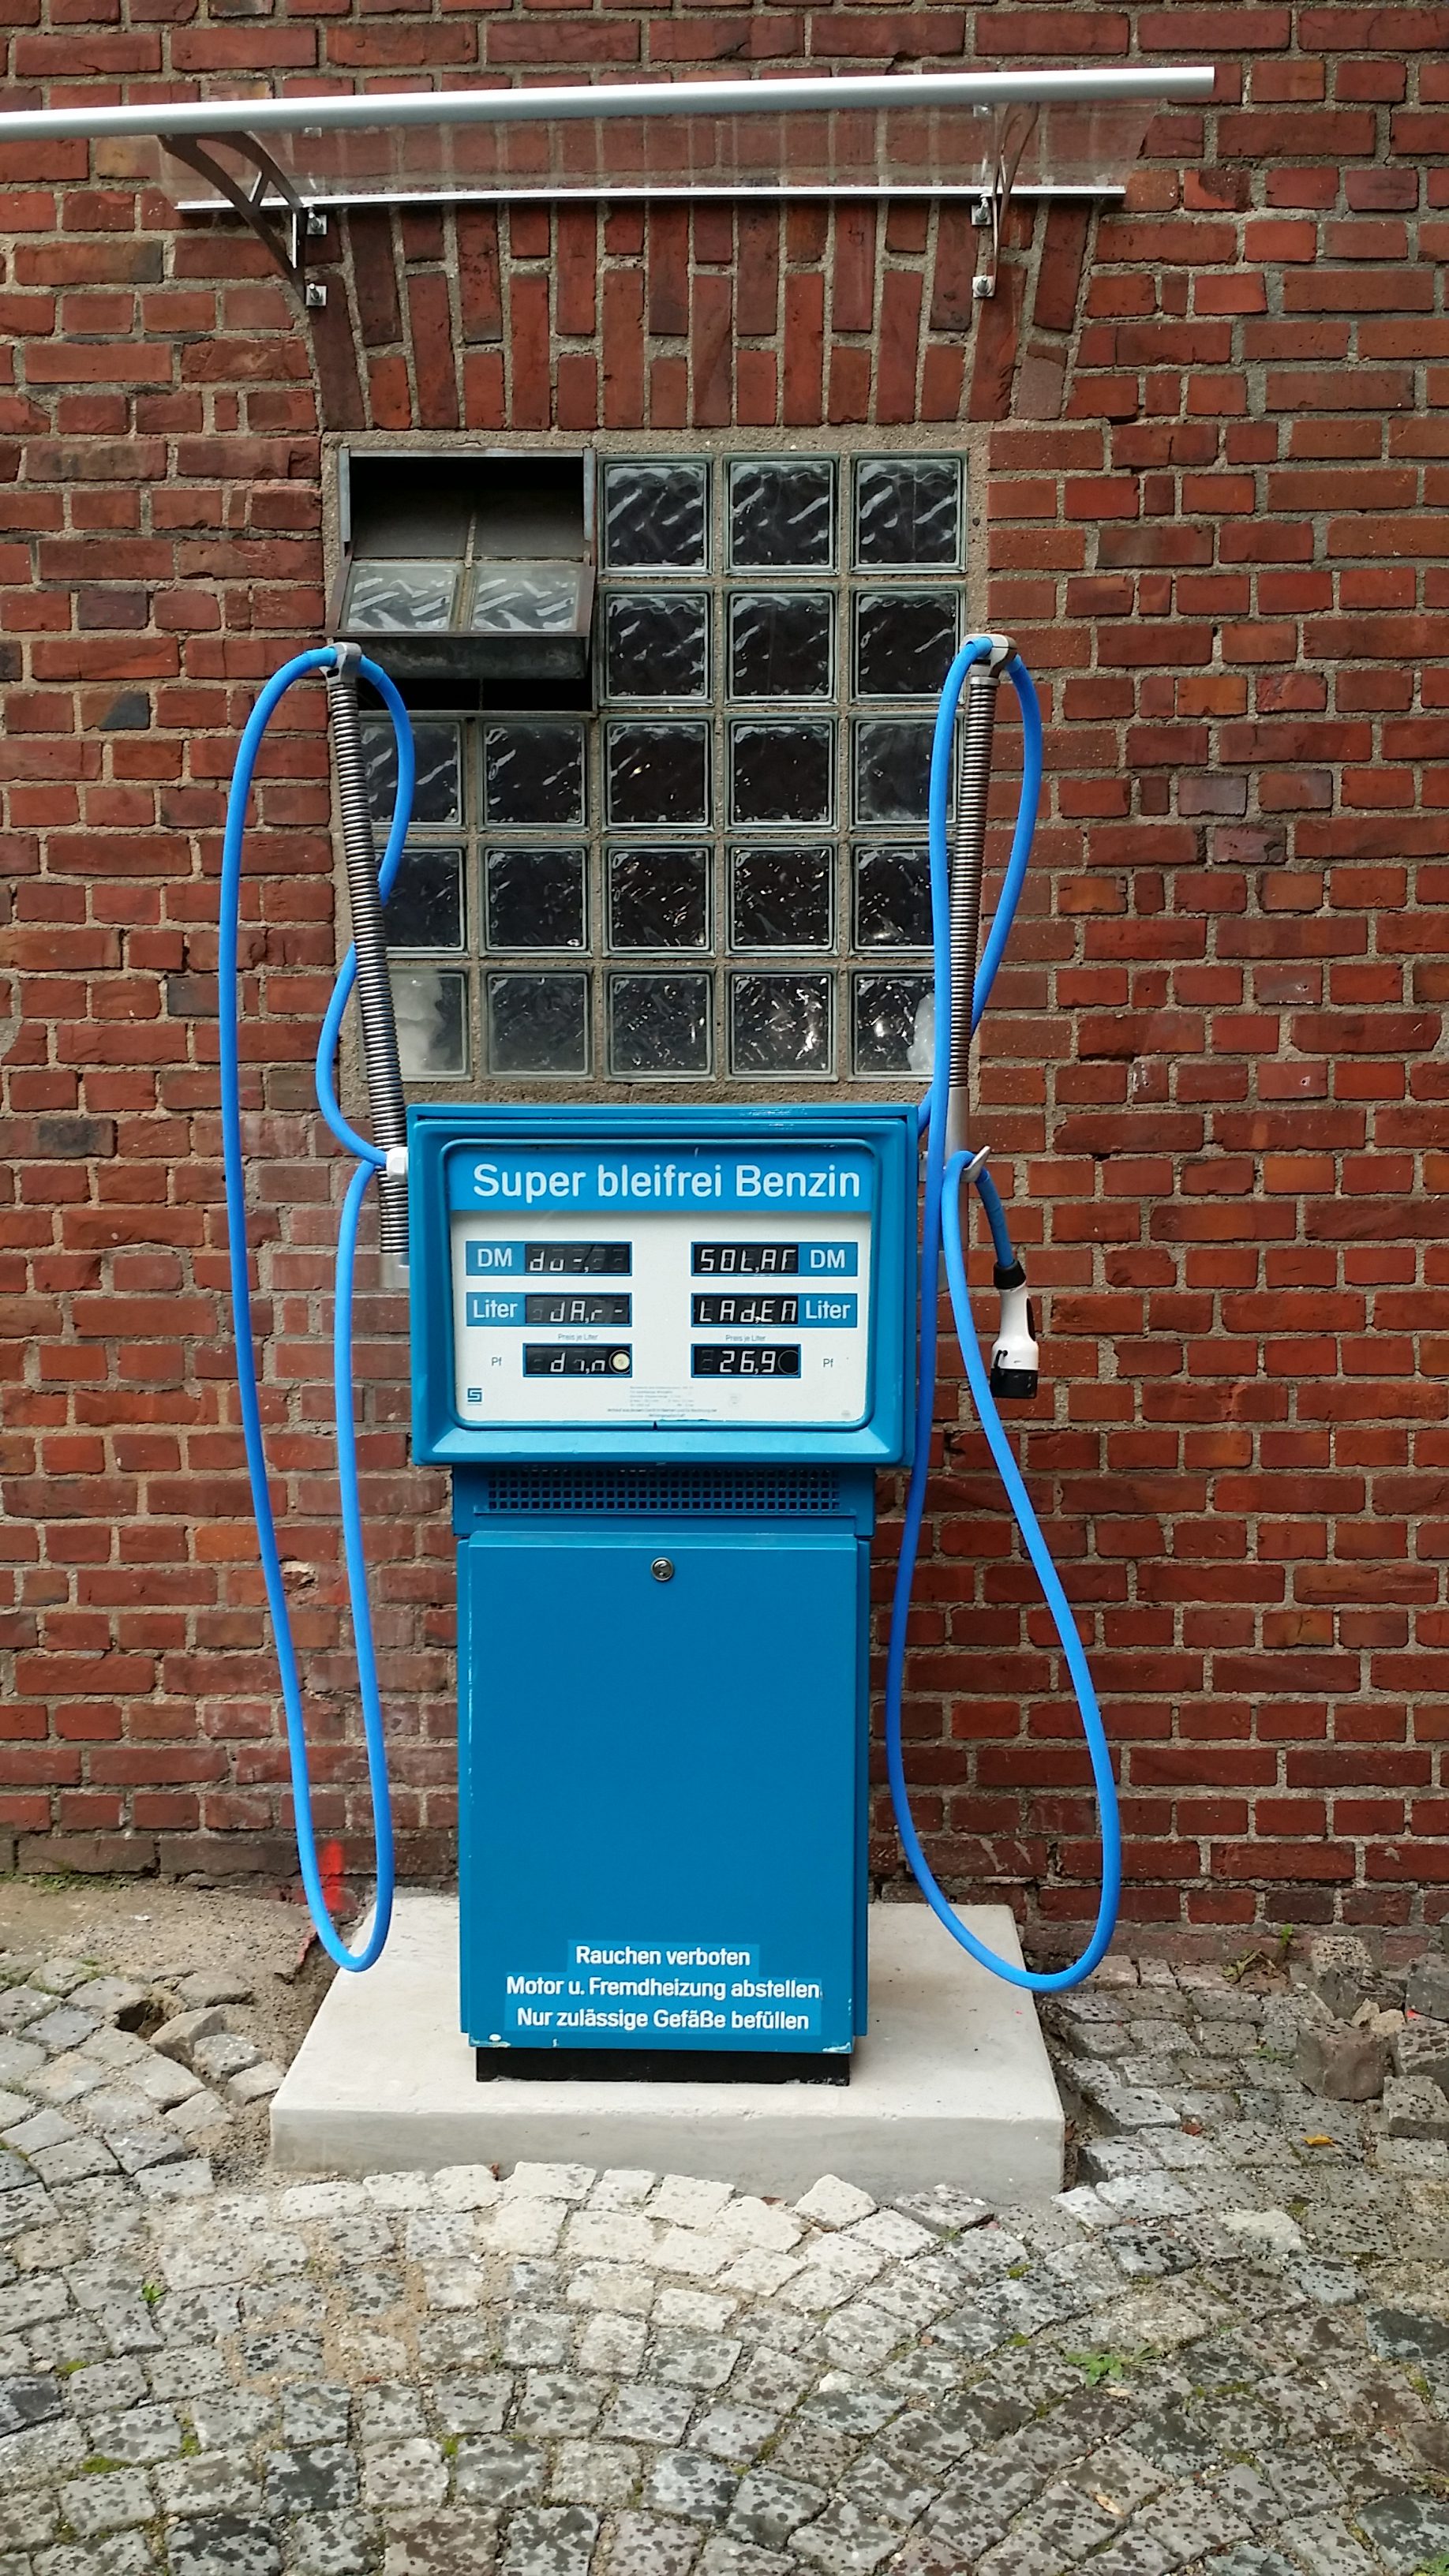
I stripped it down to the frame, removed the pumps, and cleaned the inside. Then I added charging electronics based on OpenEVSE and two Mennekes Type 2 AC charging plugs, delivering 22kW (3*32A*230V).

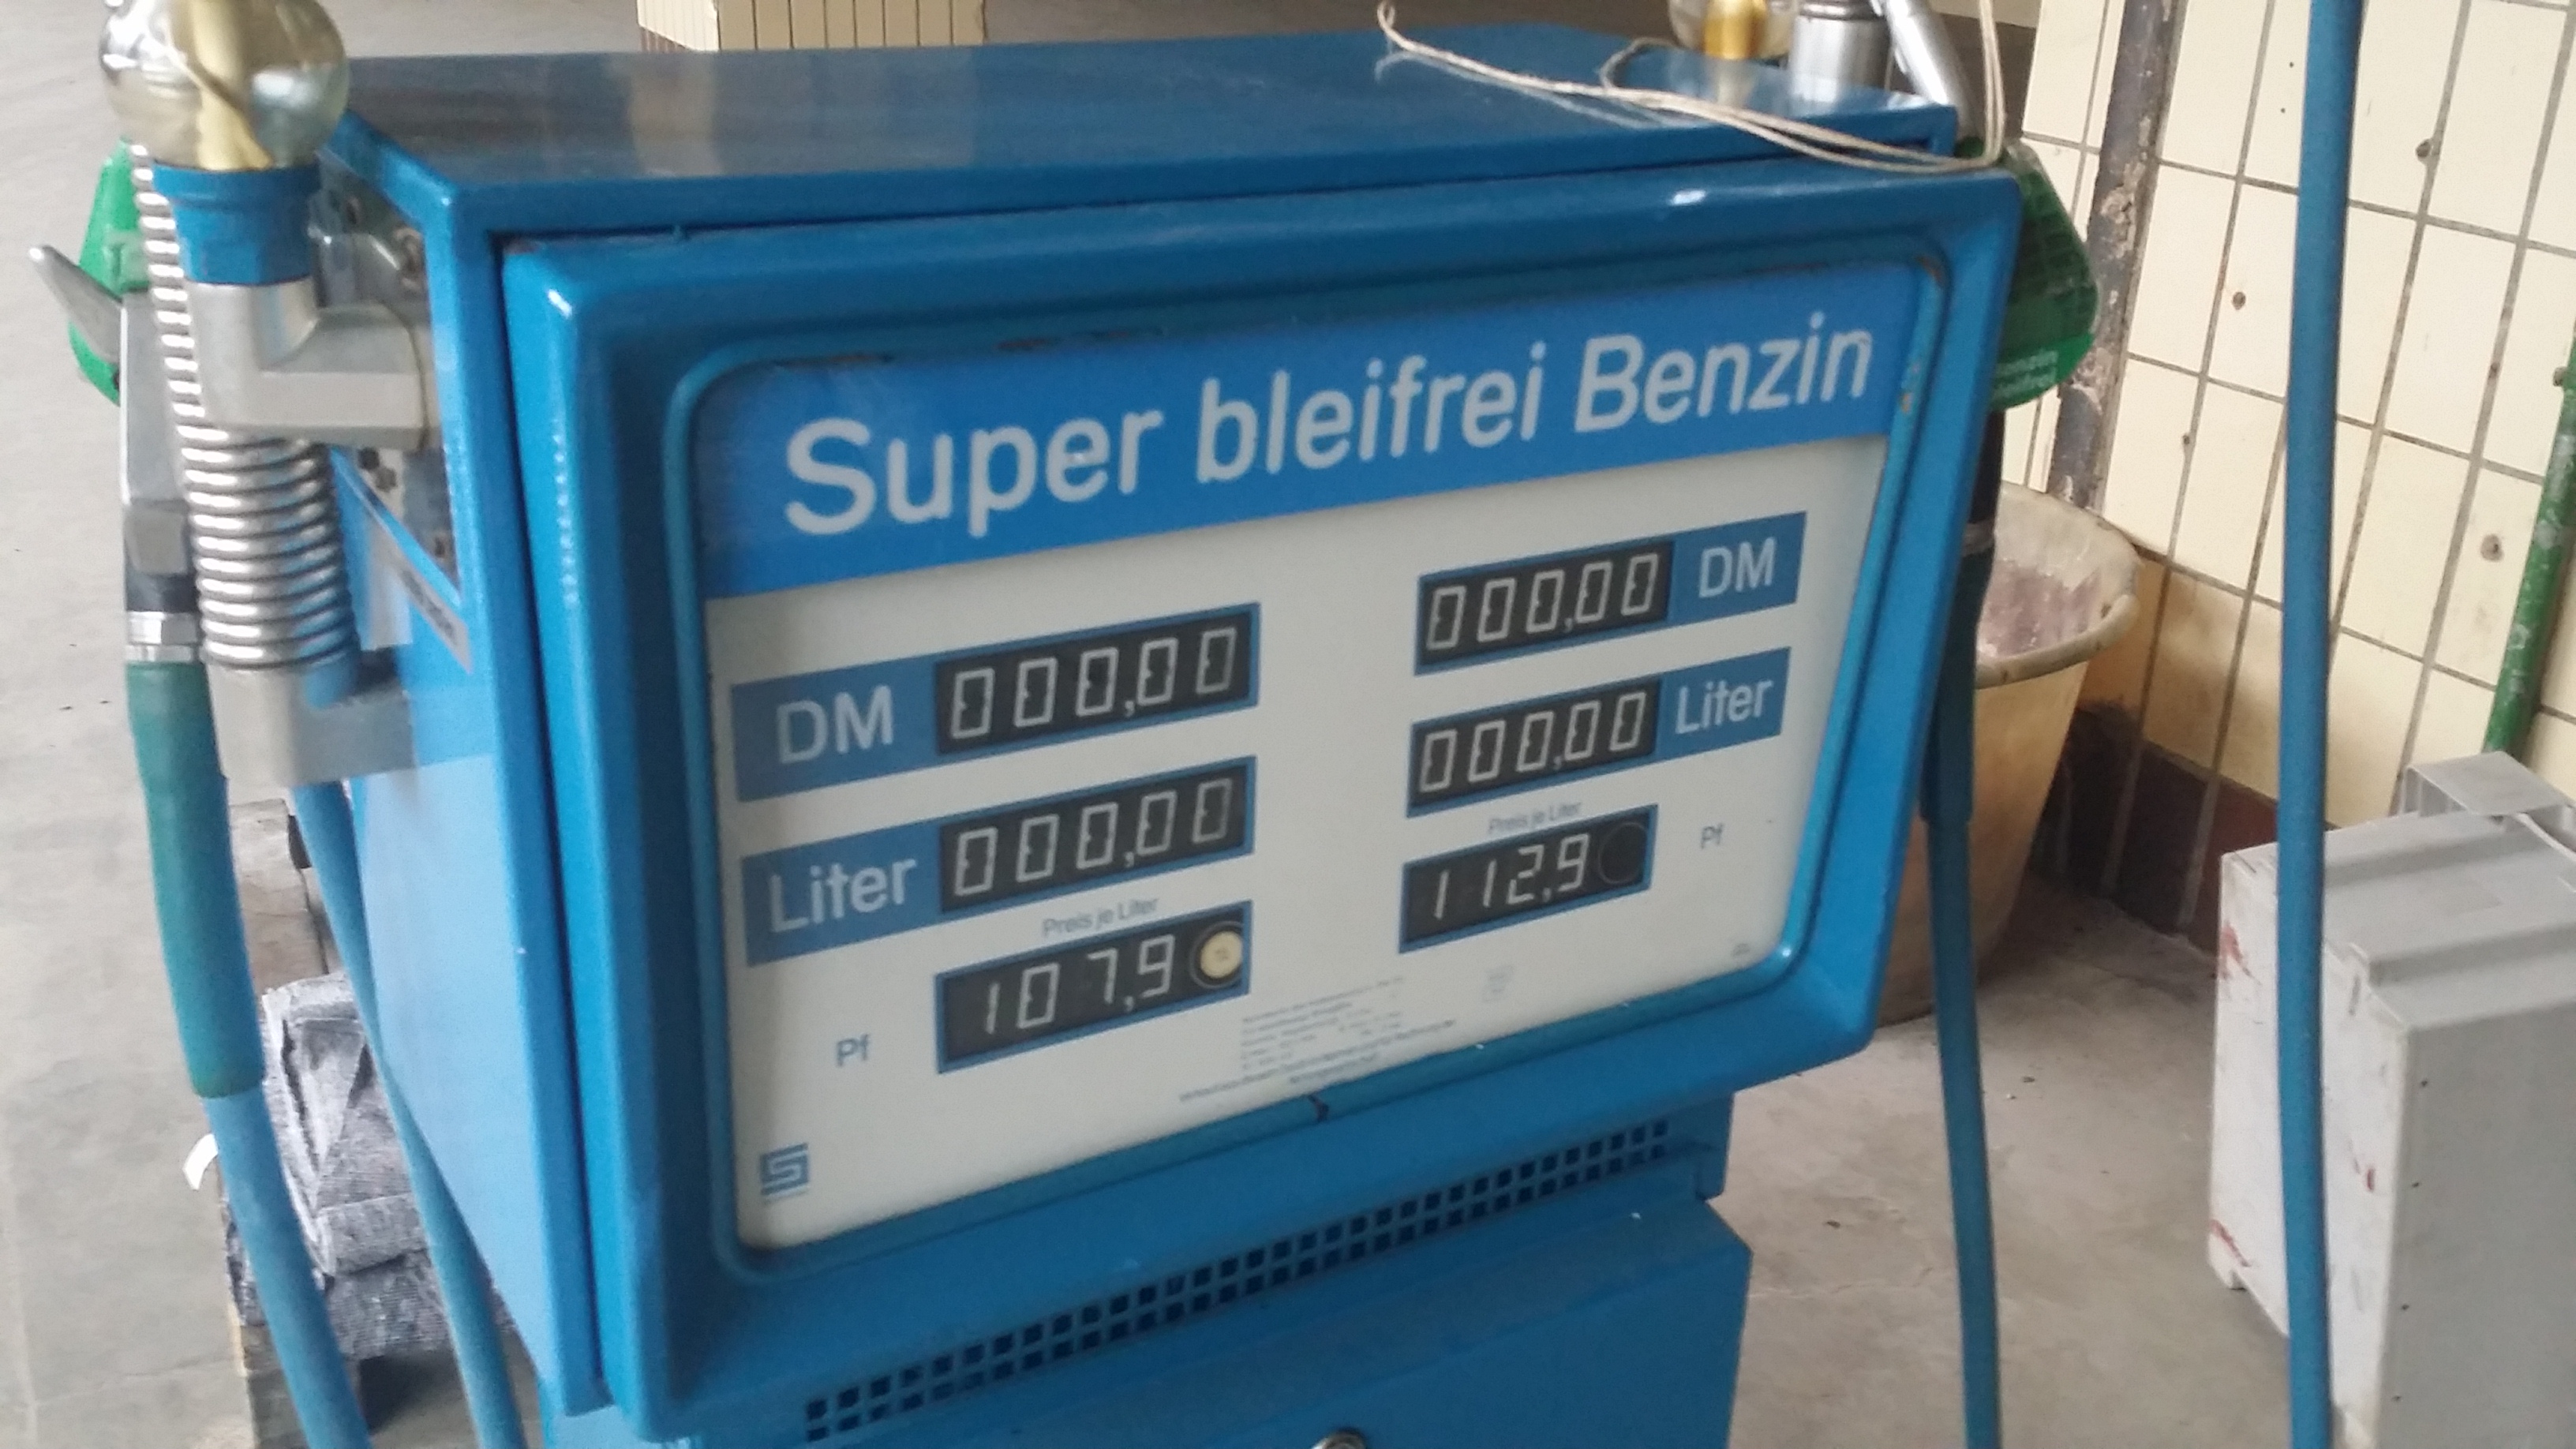
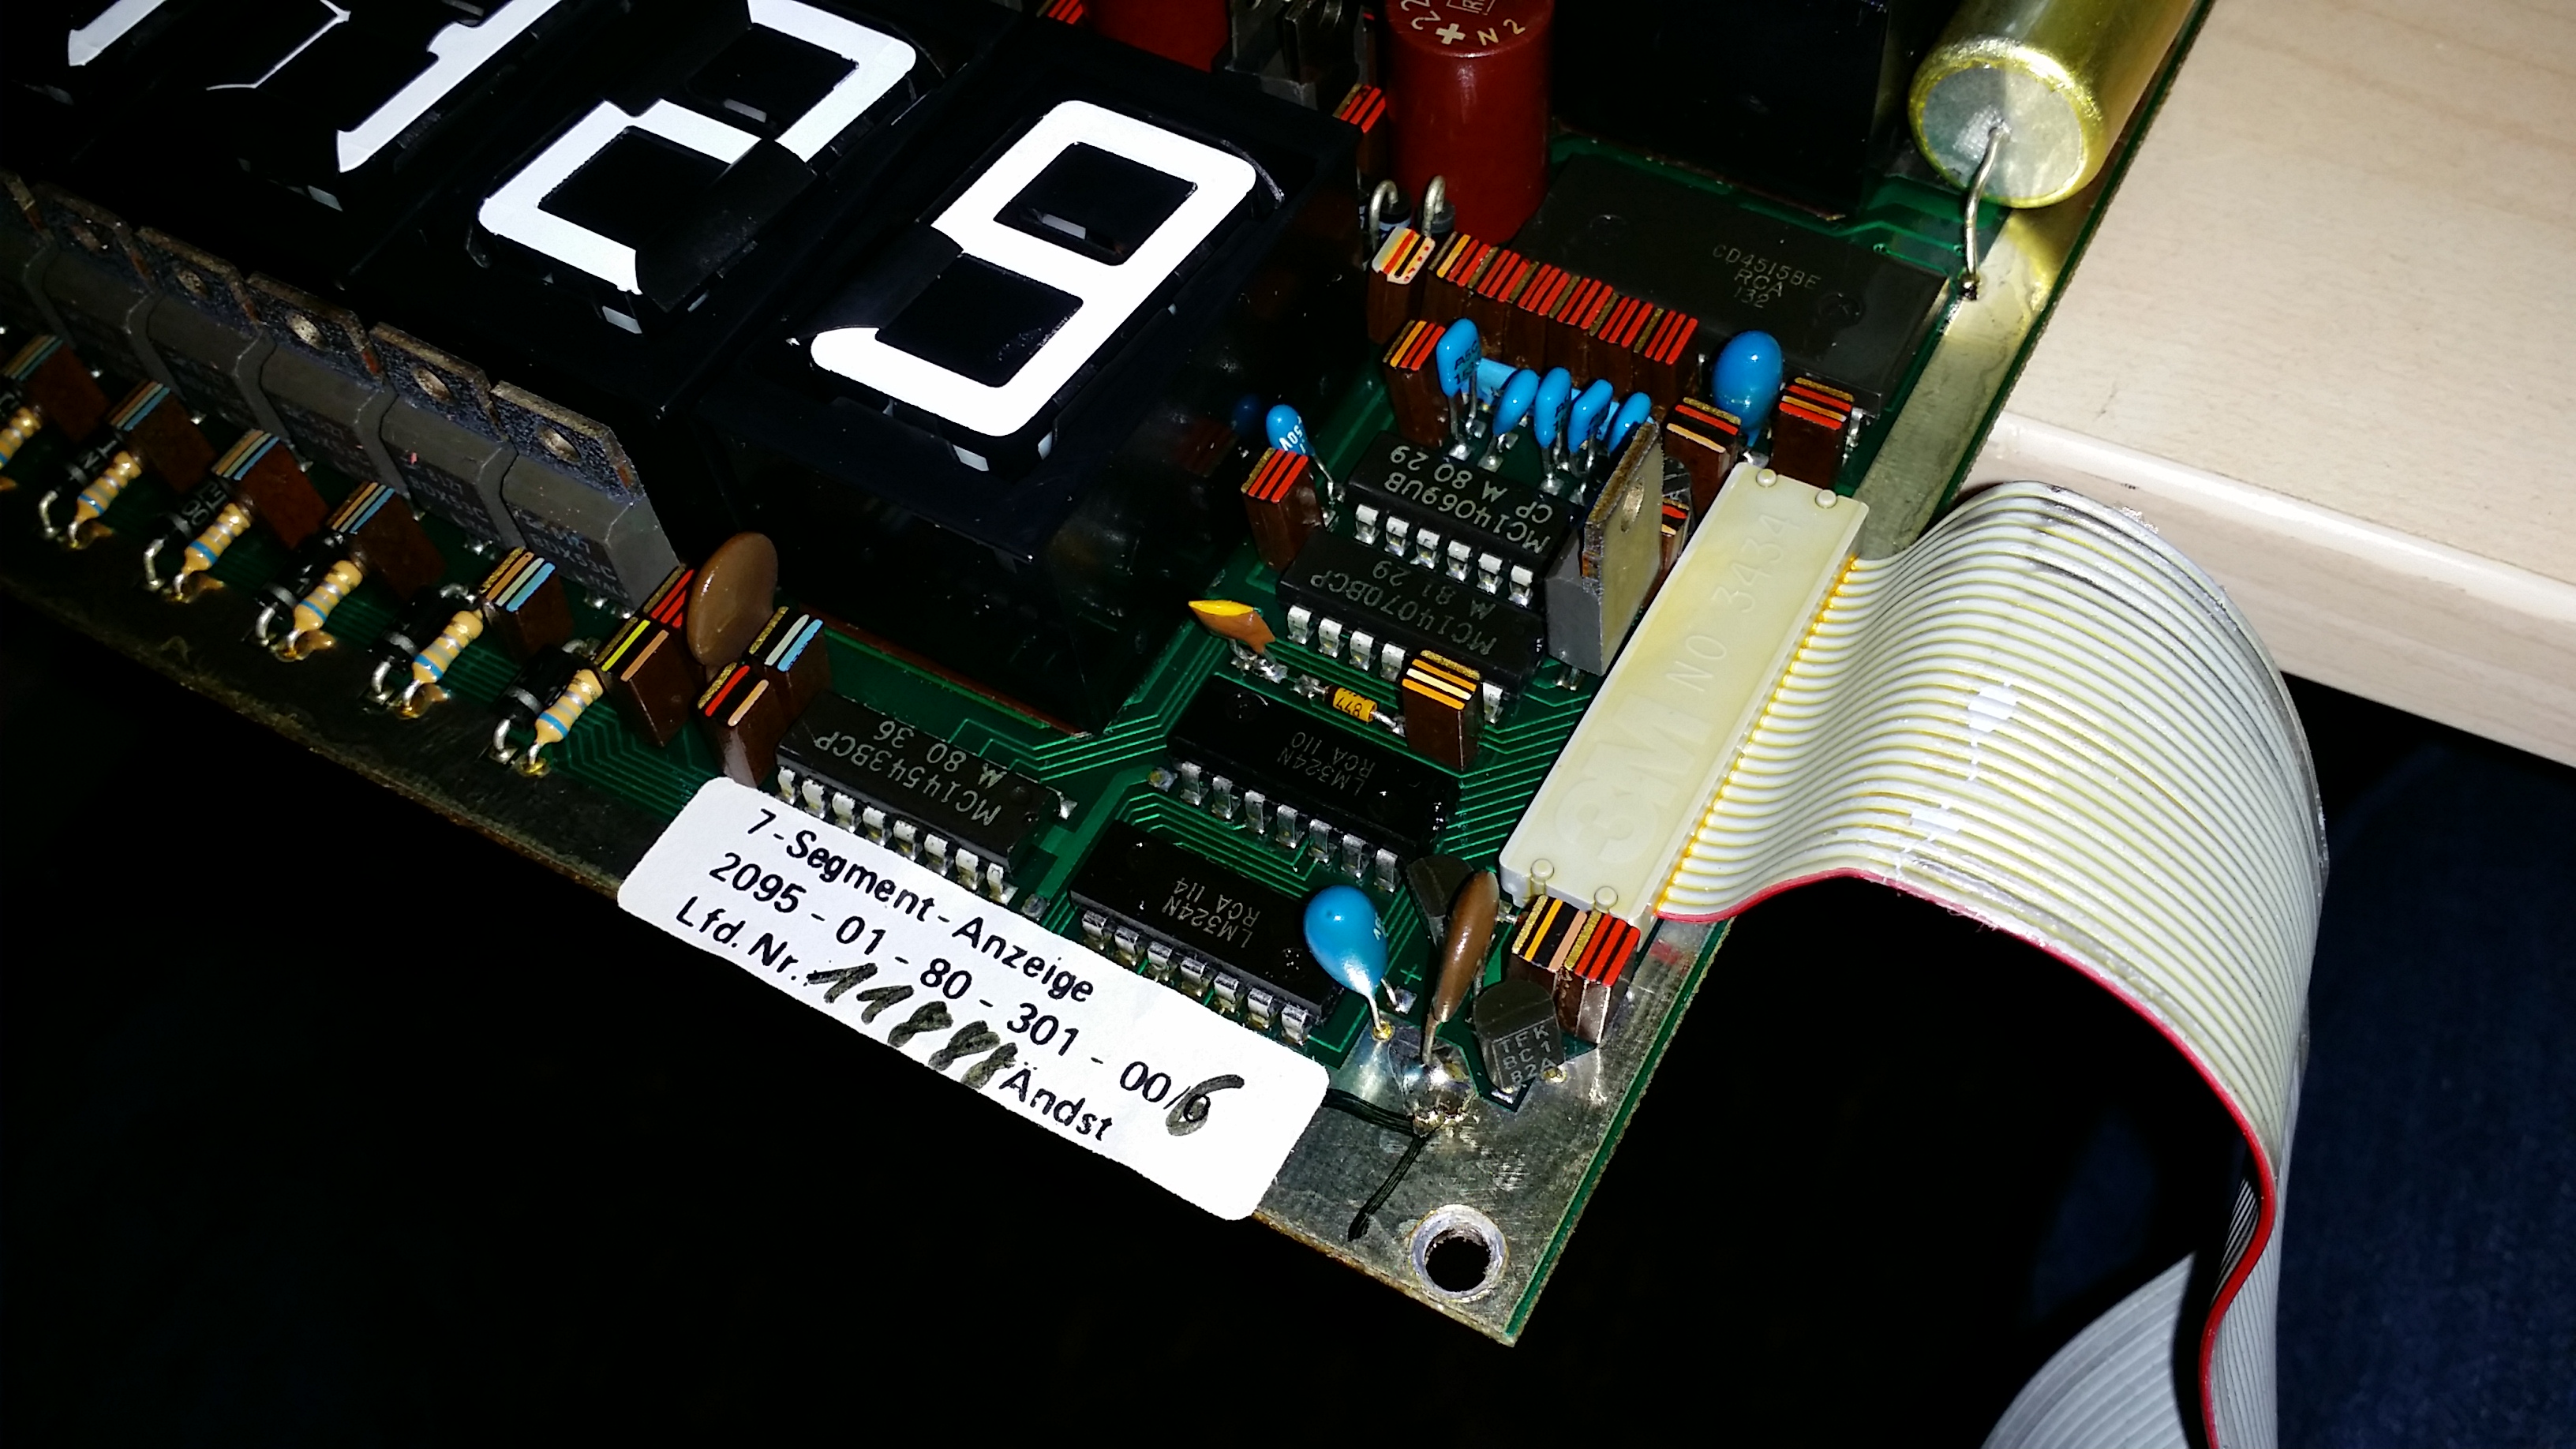
 Well, the charging works, but the display is kind of boring: it just shows all zeros, and the last amount of Deutschmark per liters before the pump was taken out of service.
Thanks to a very modular setup, the displays can be removed quickly and easily from the pump.
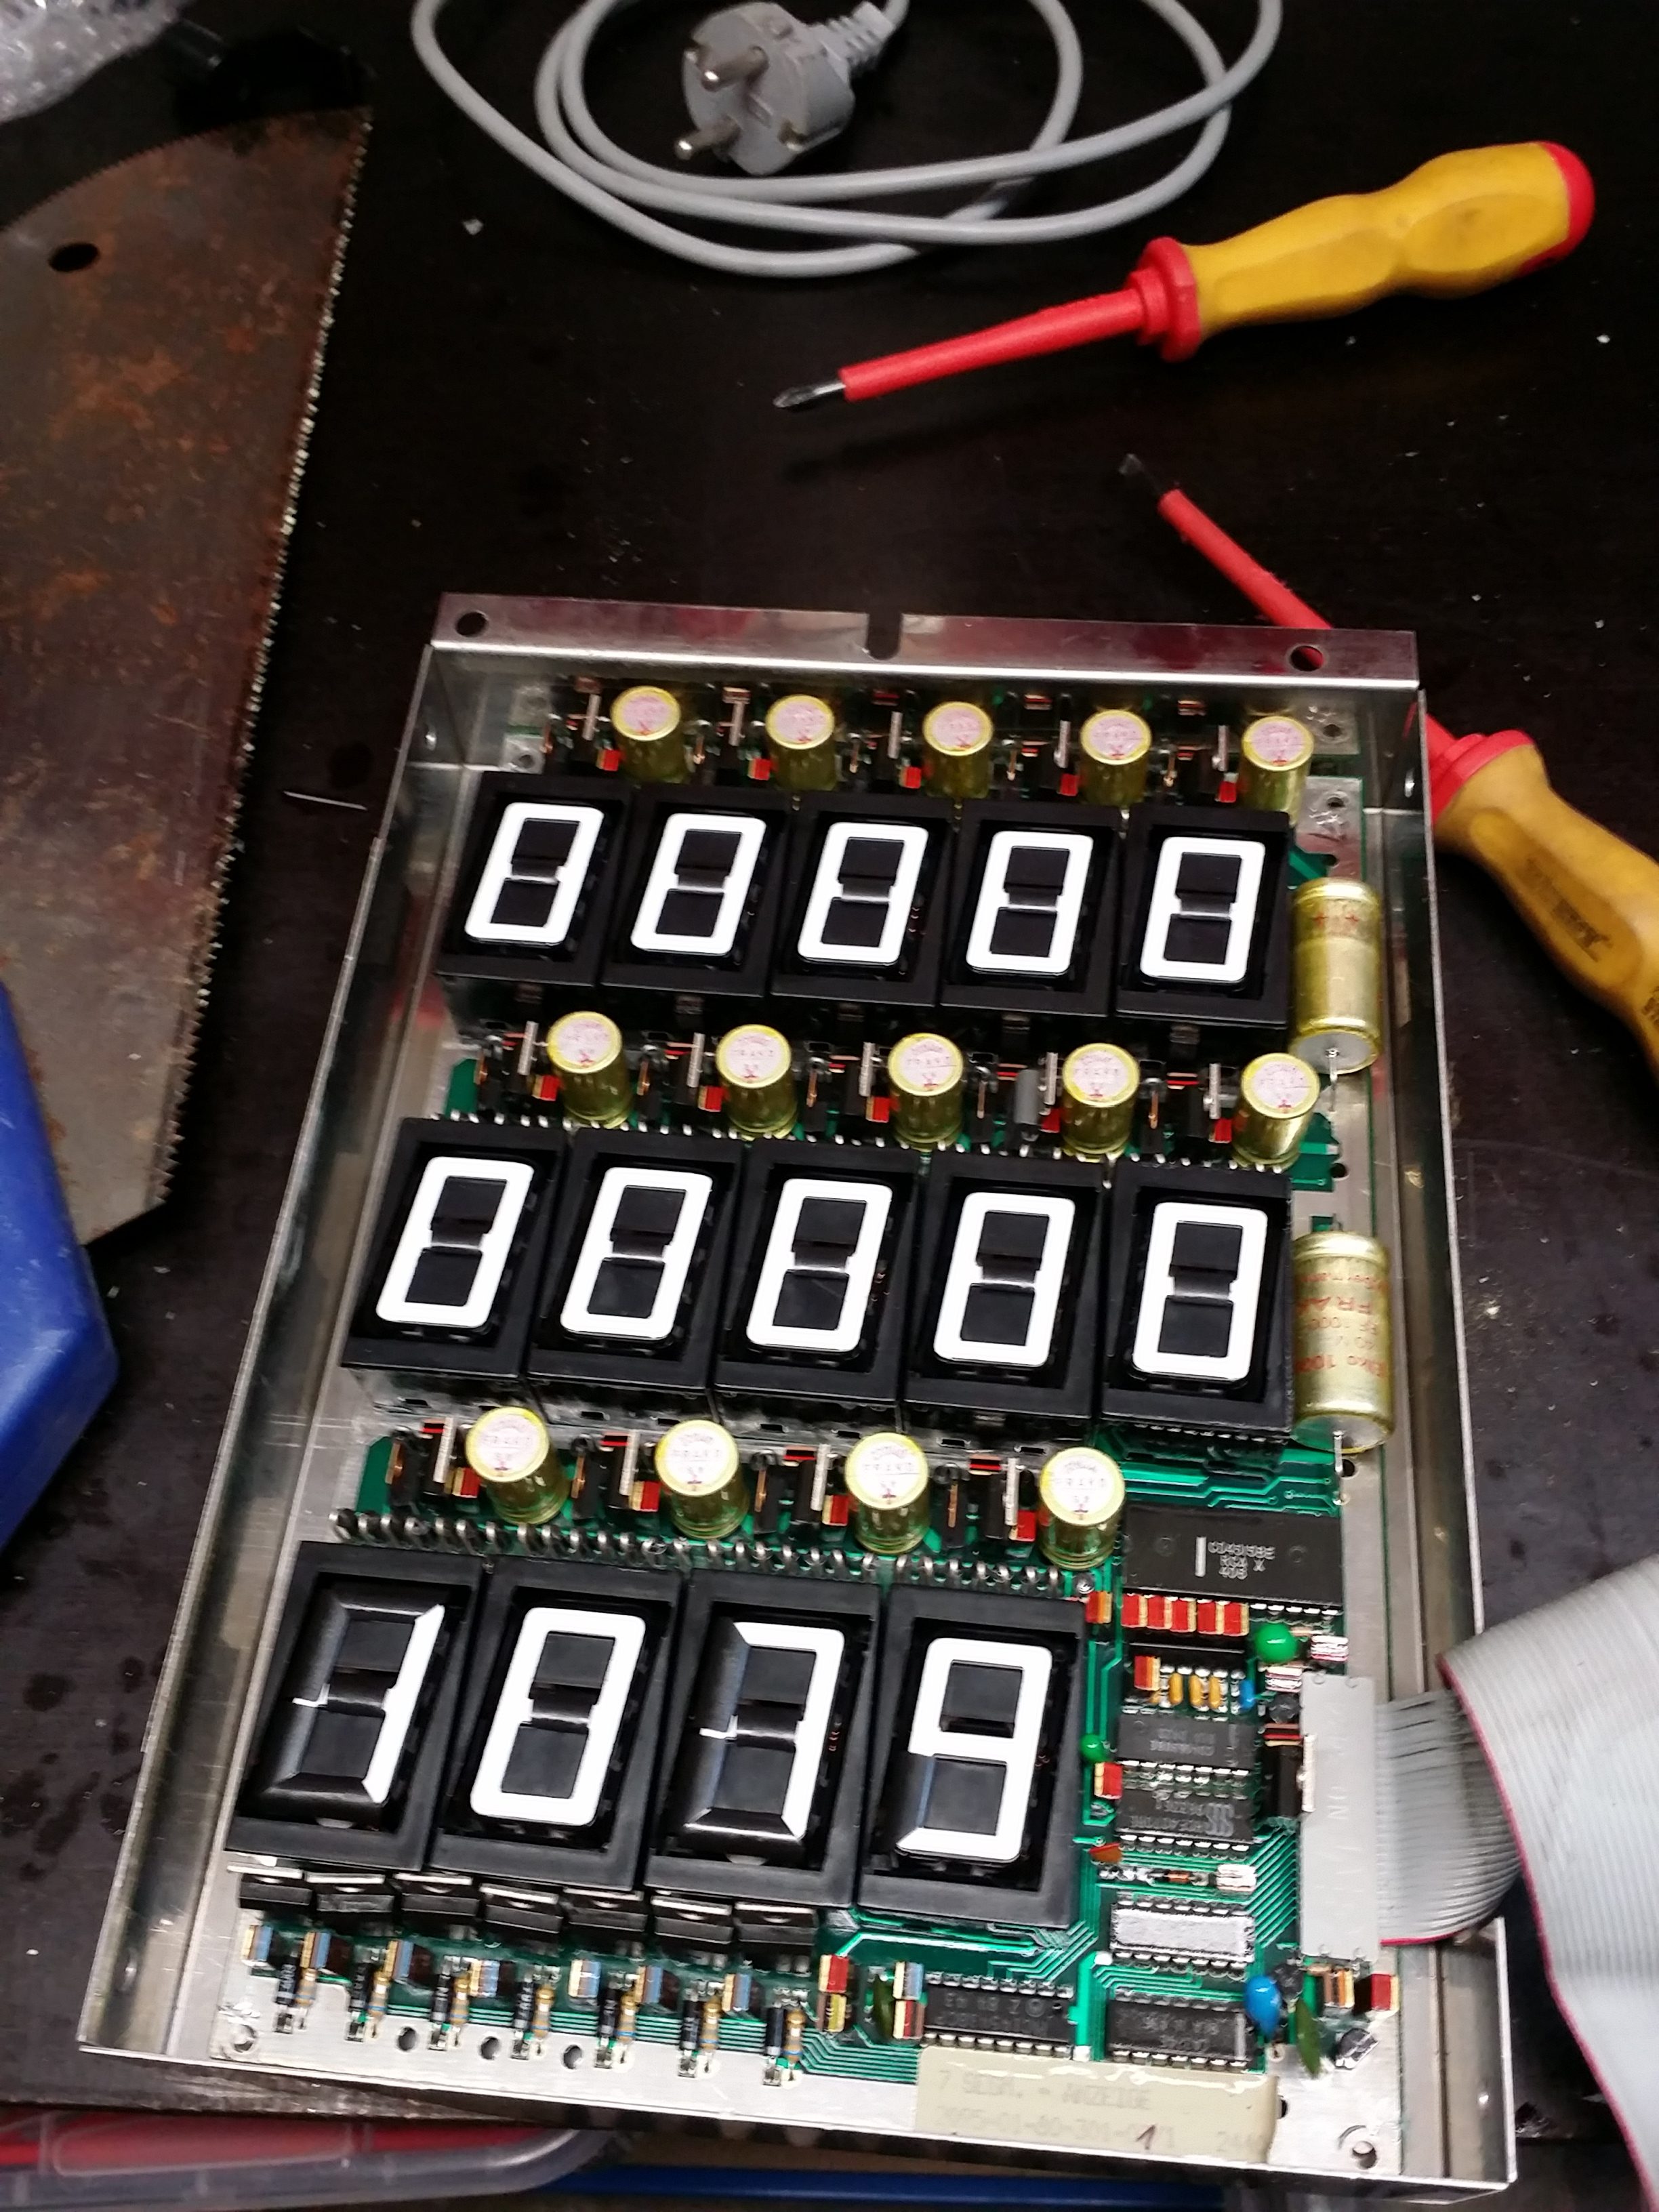
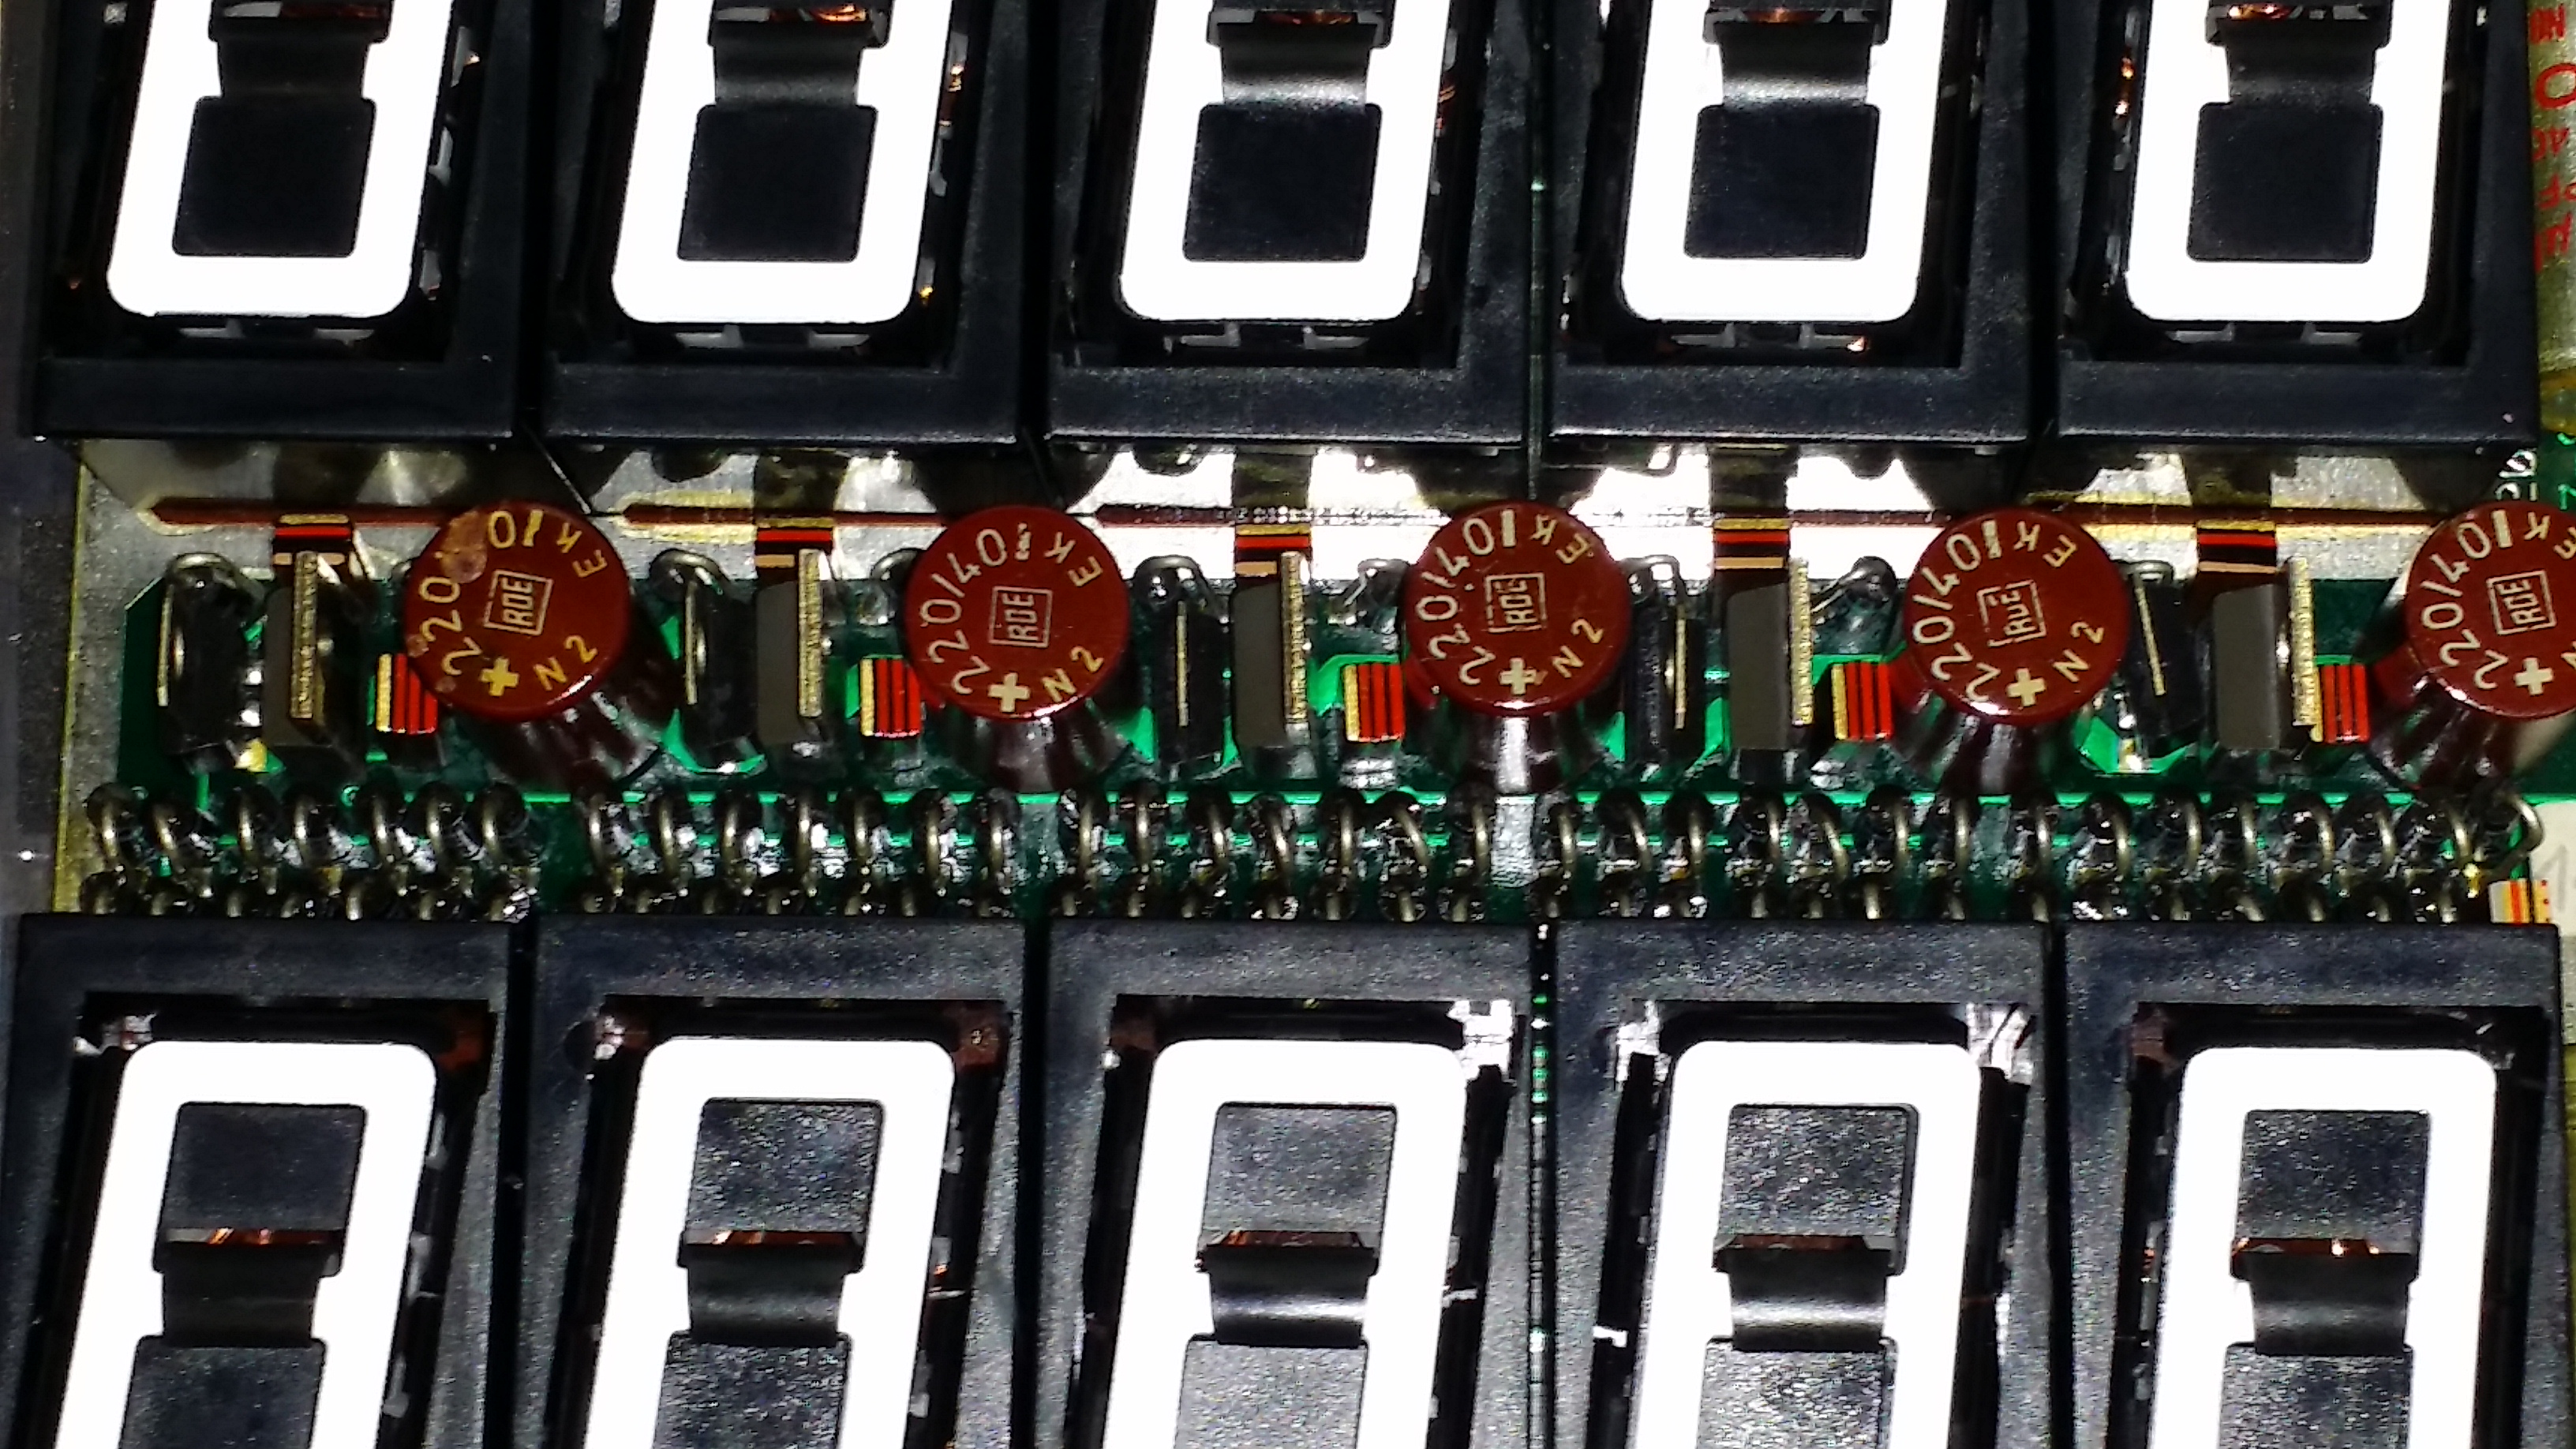
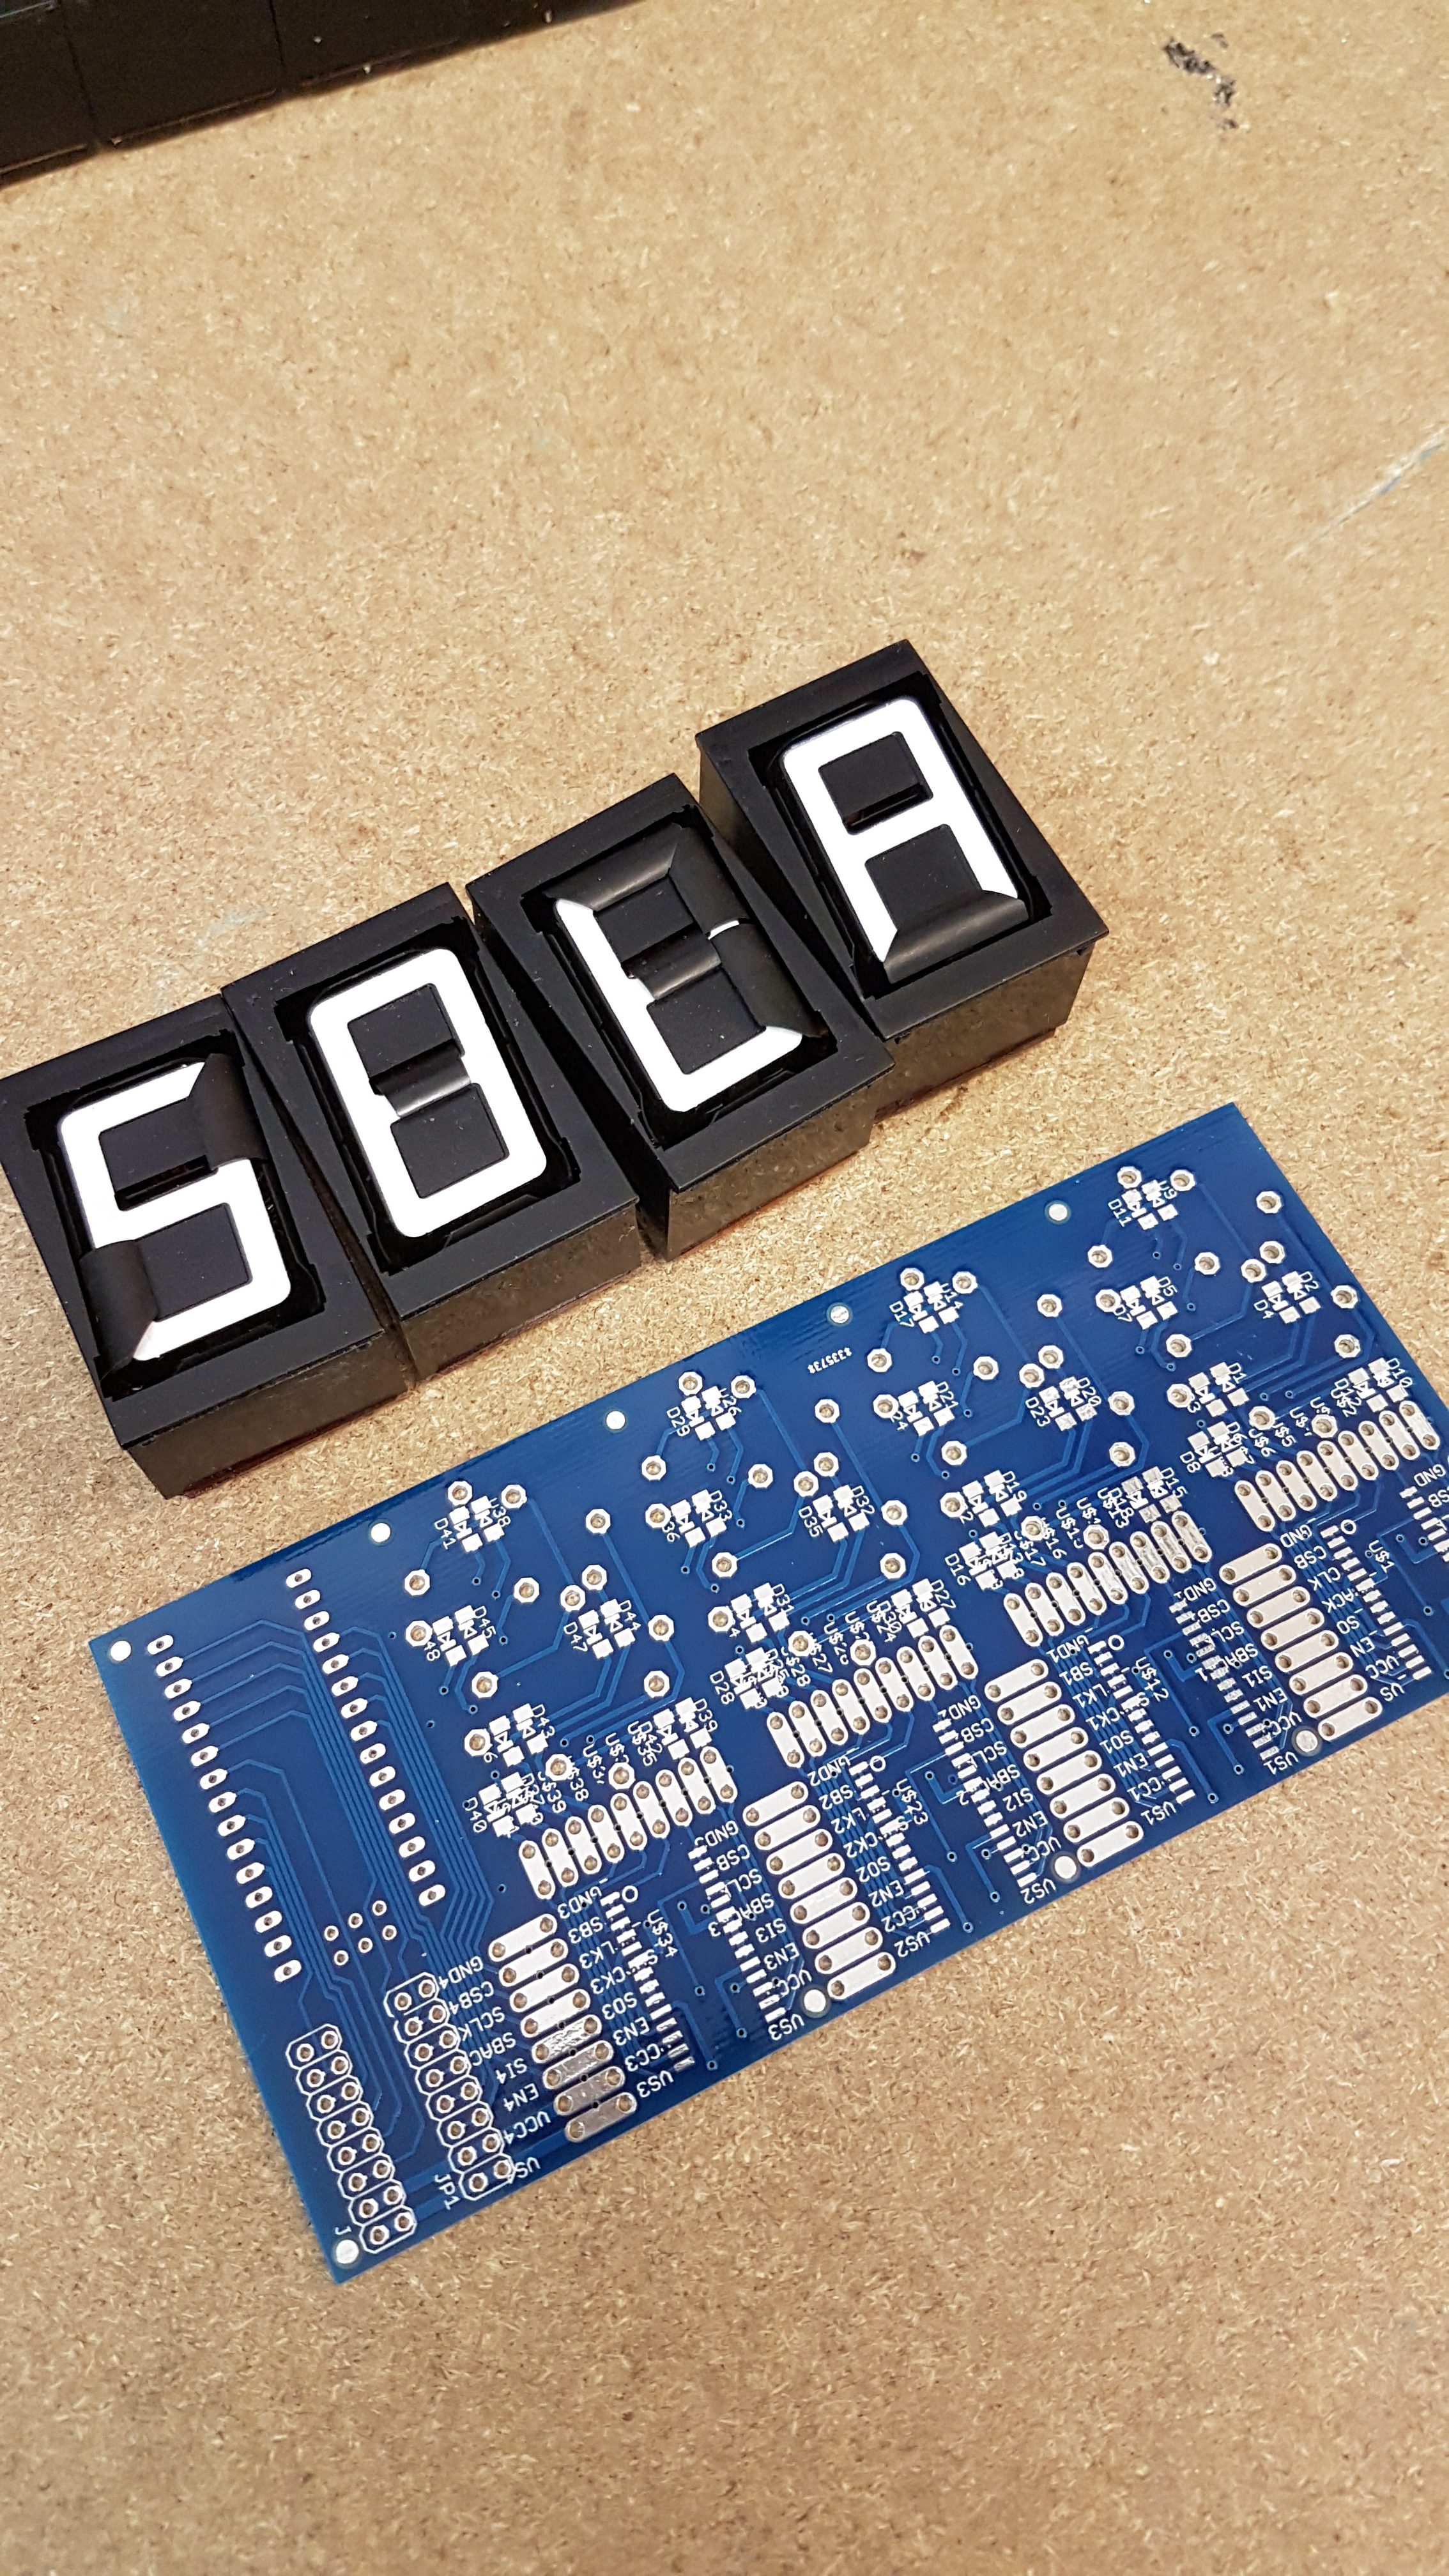
The seven segment displays have magnets that throw a black flap back and forward to cover up part of the white digit.
The original PCB has an unknown interface. The plan is to have a digital interface to show any possible pattern.
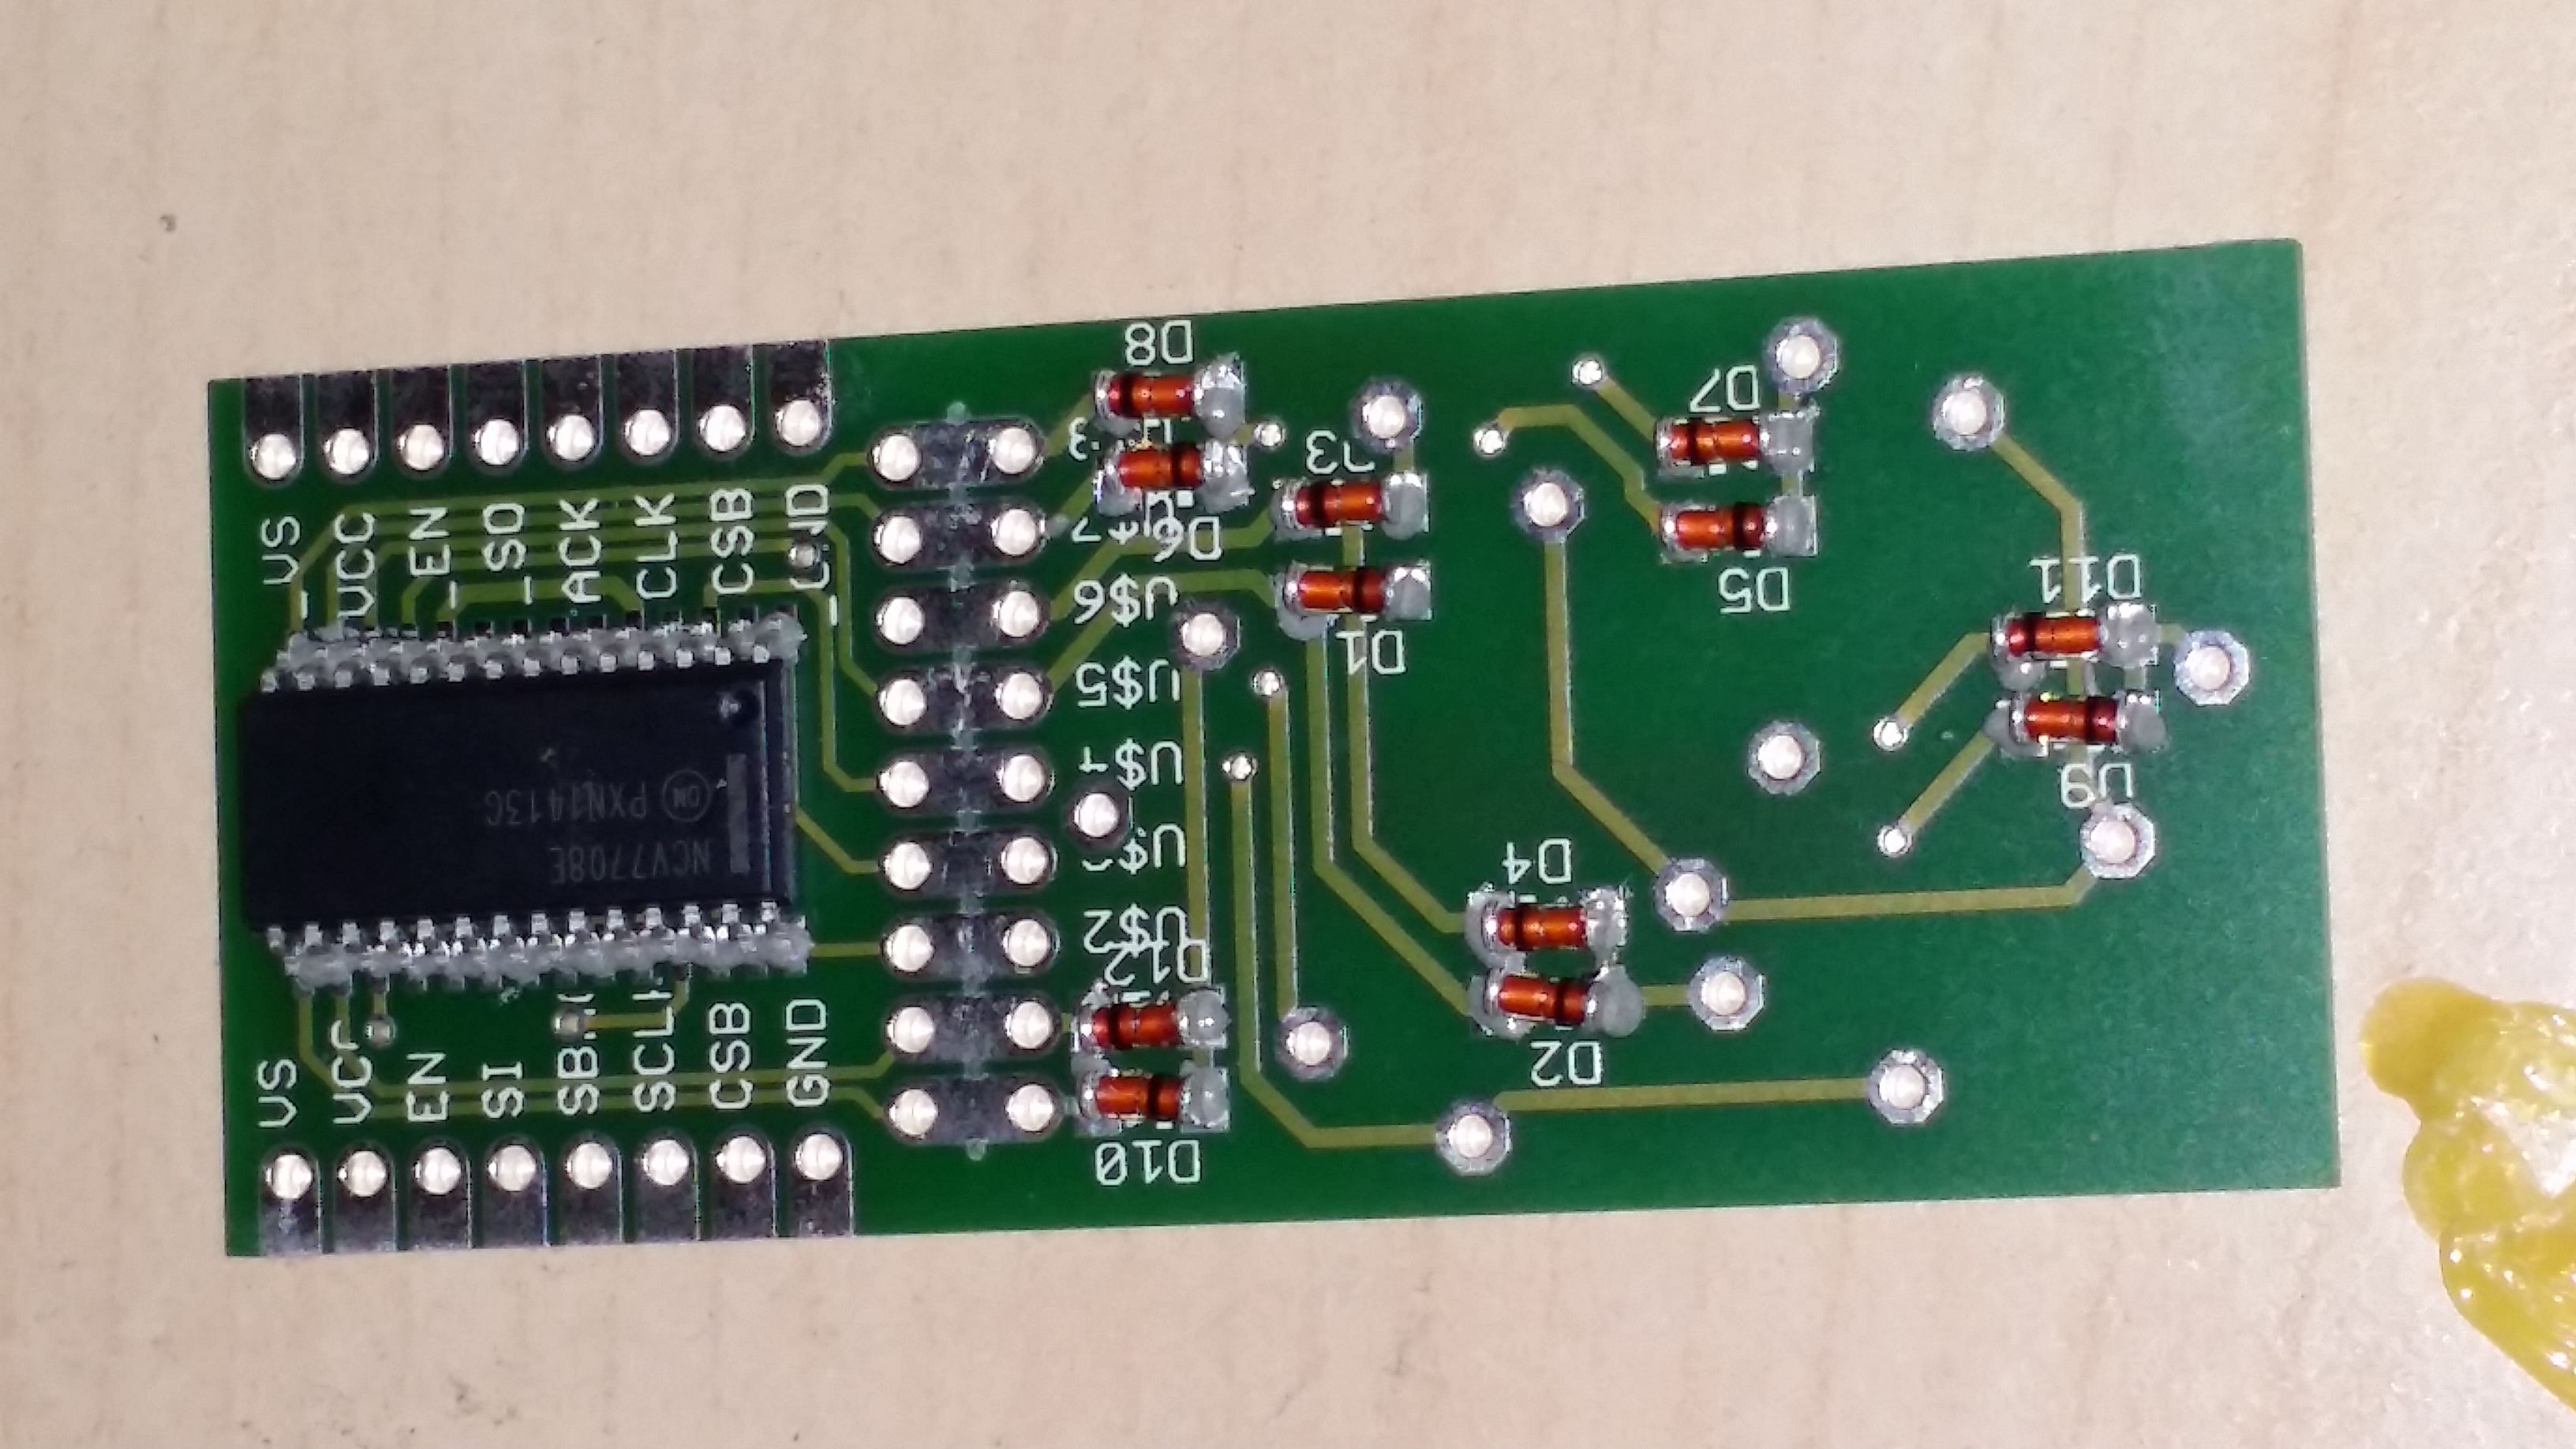
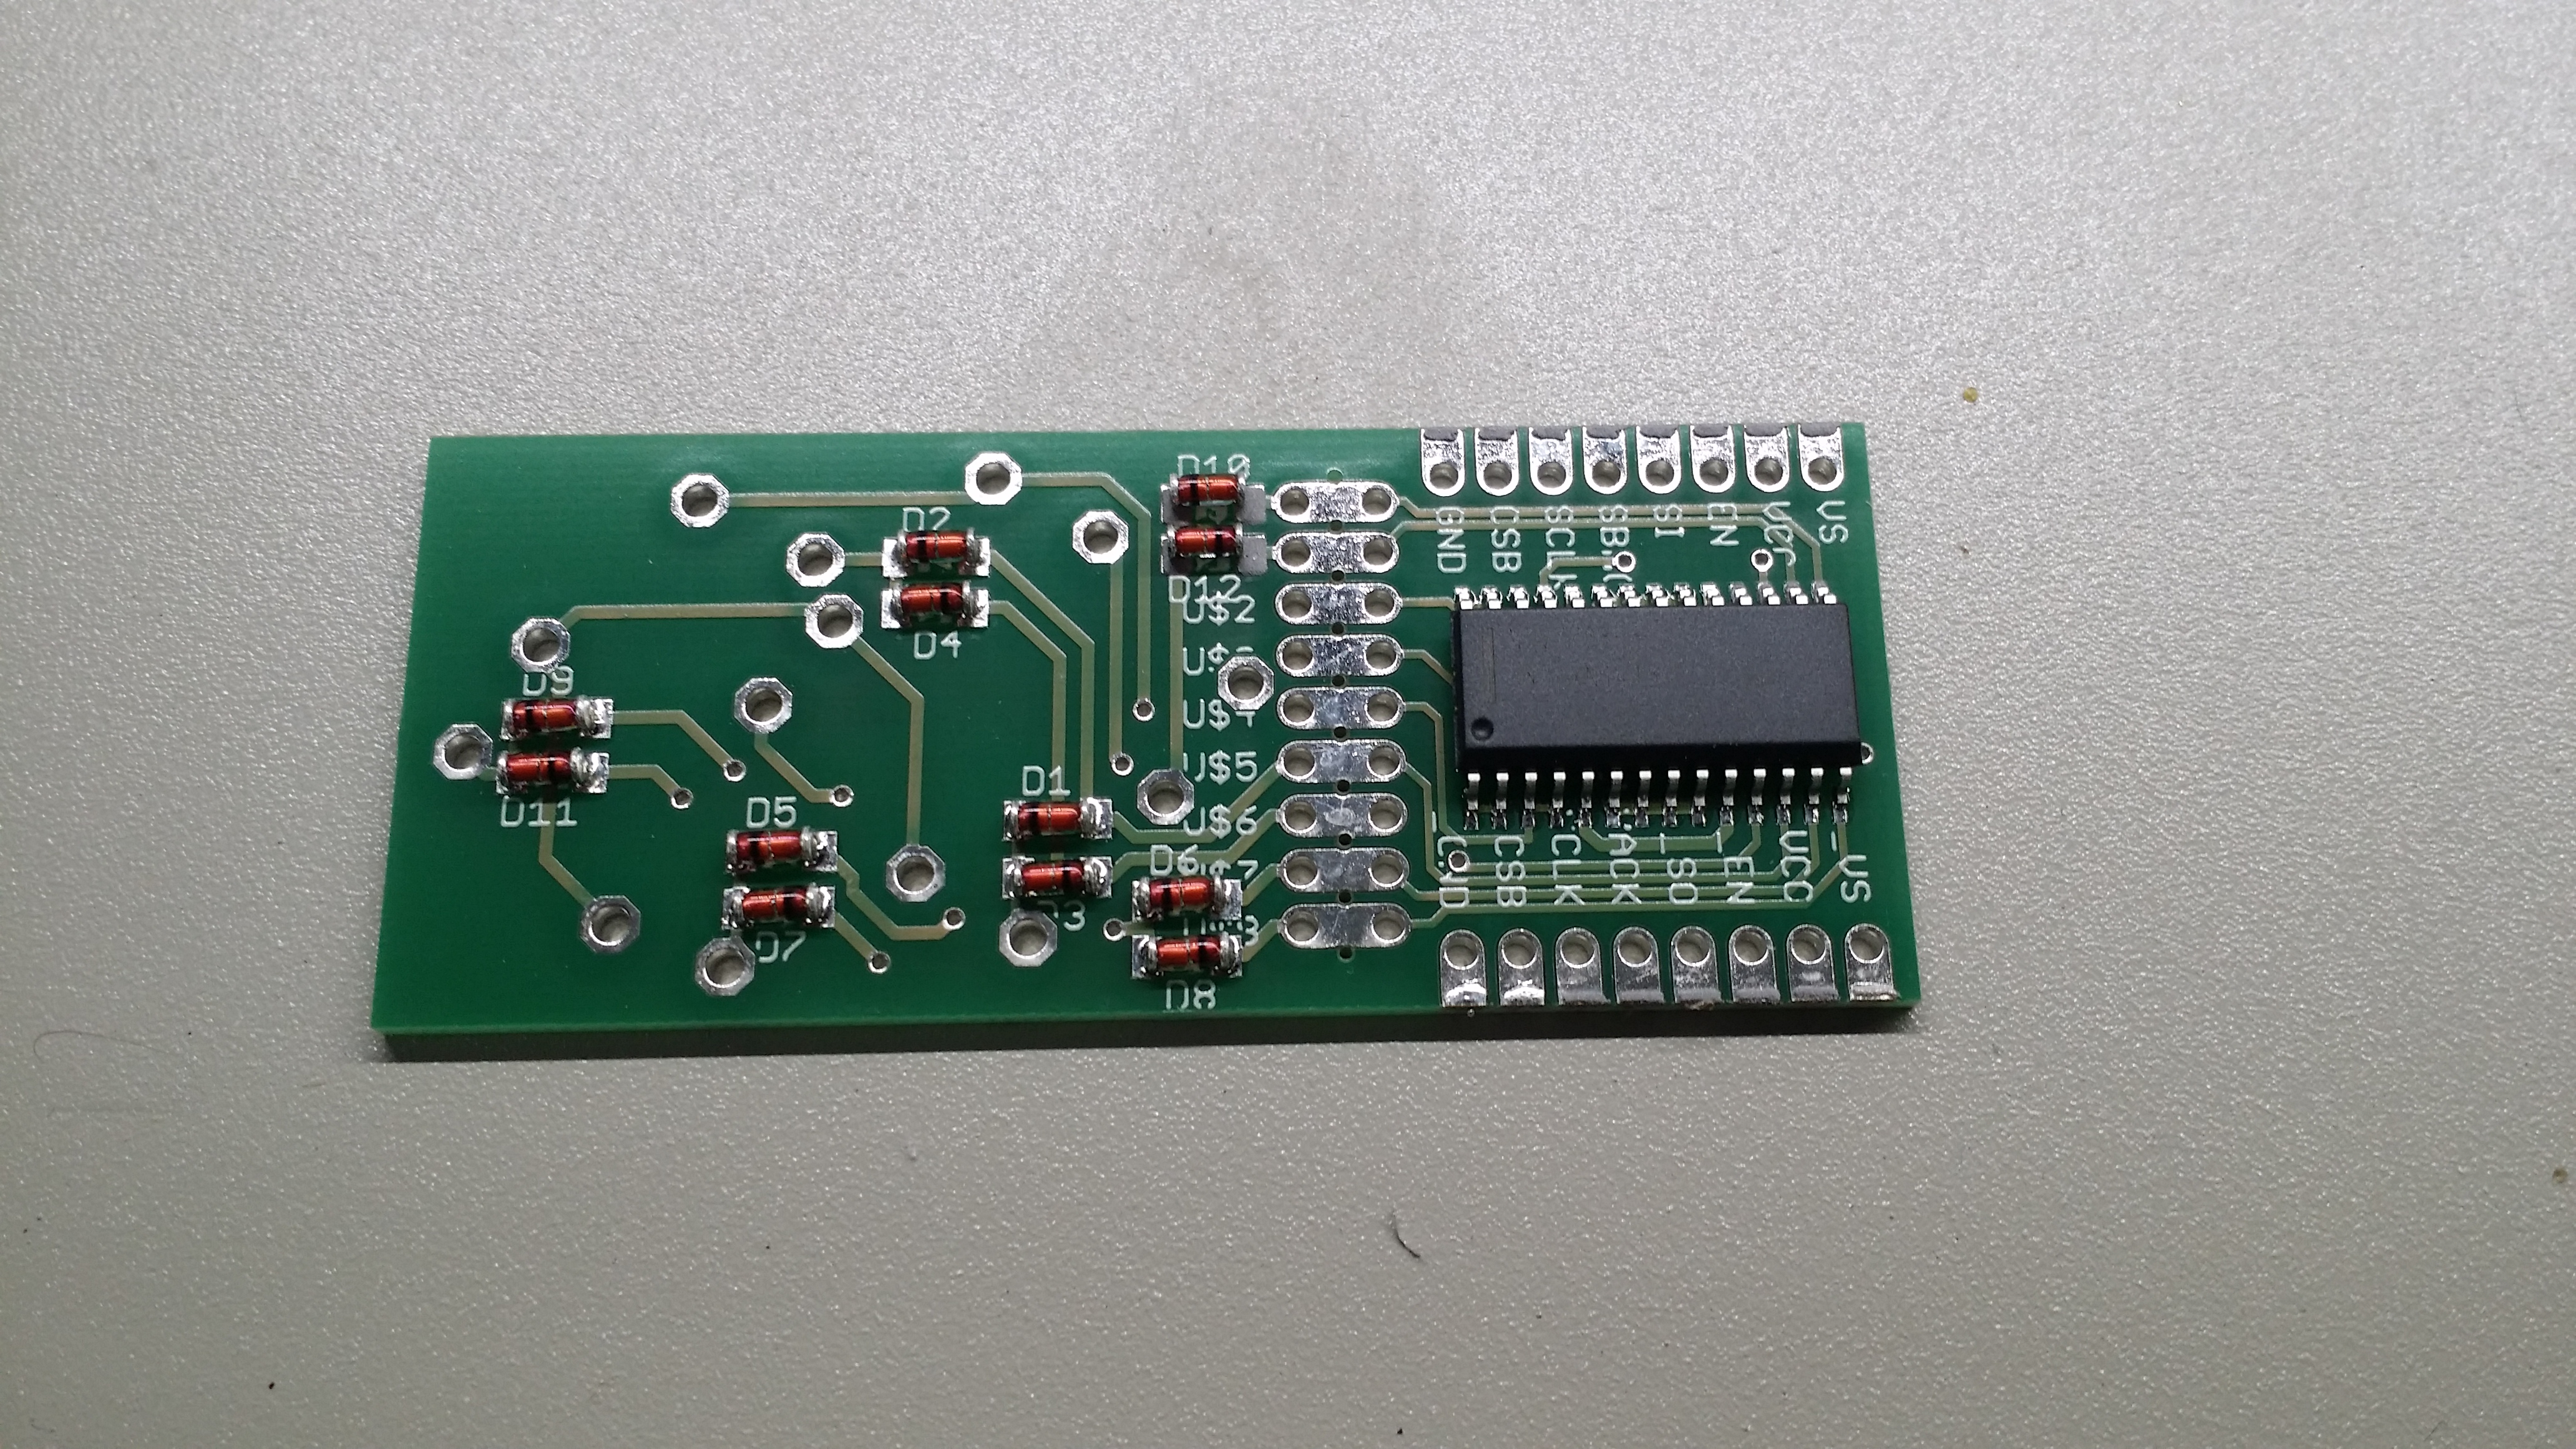
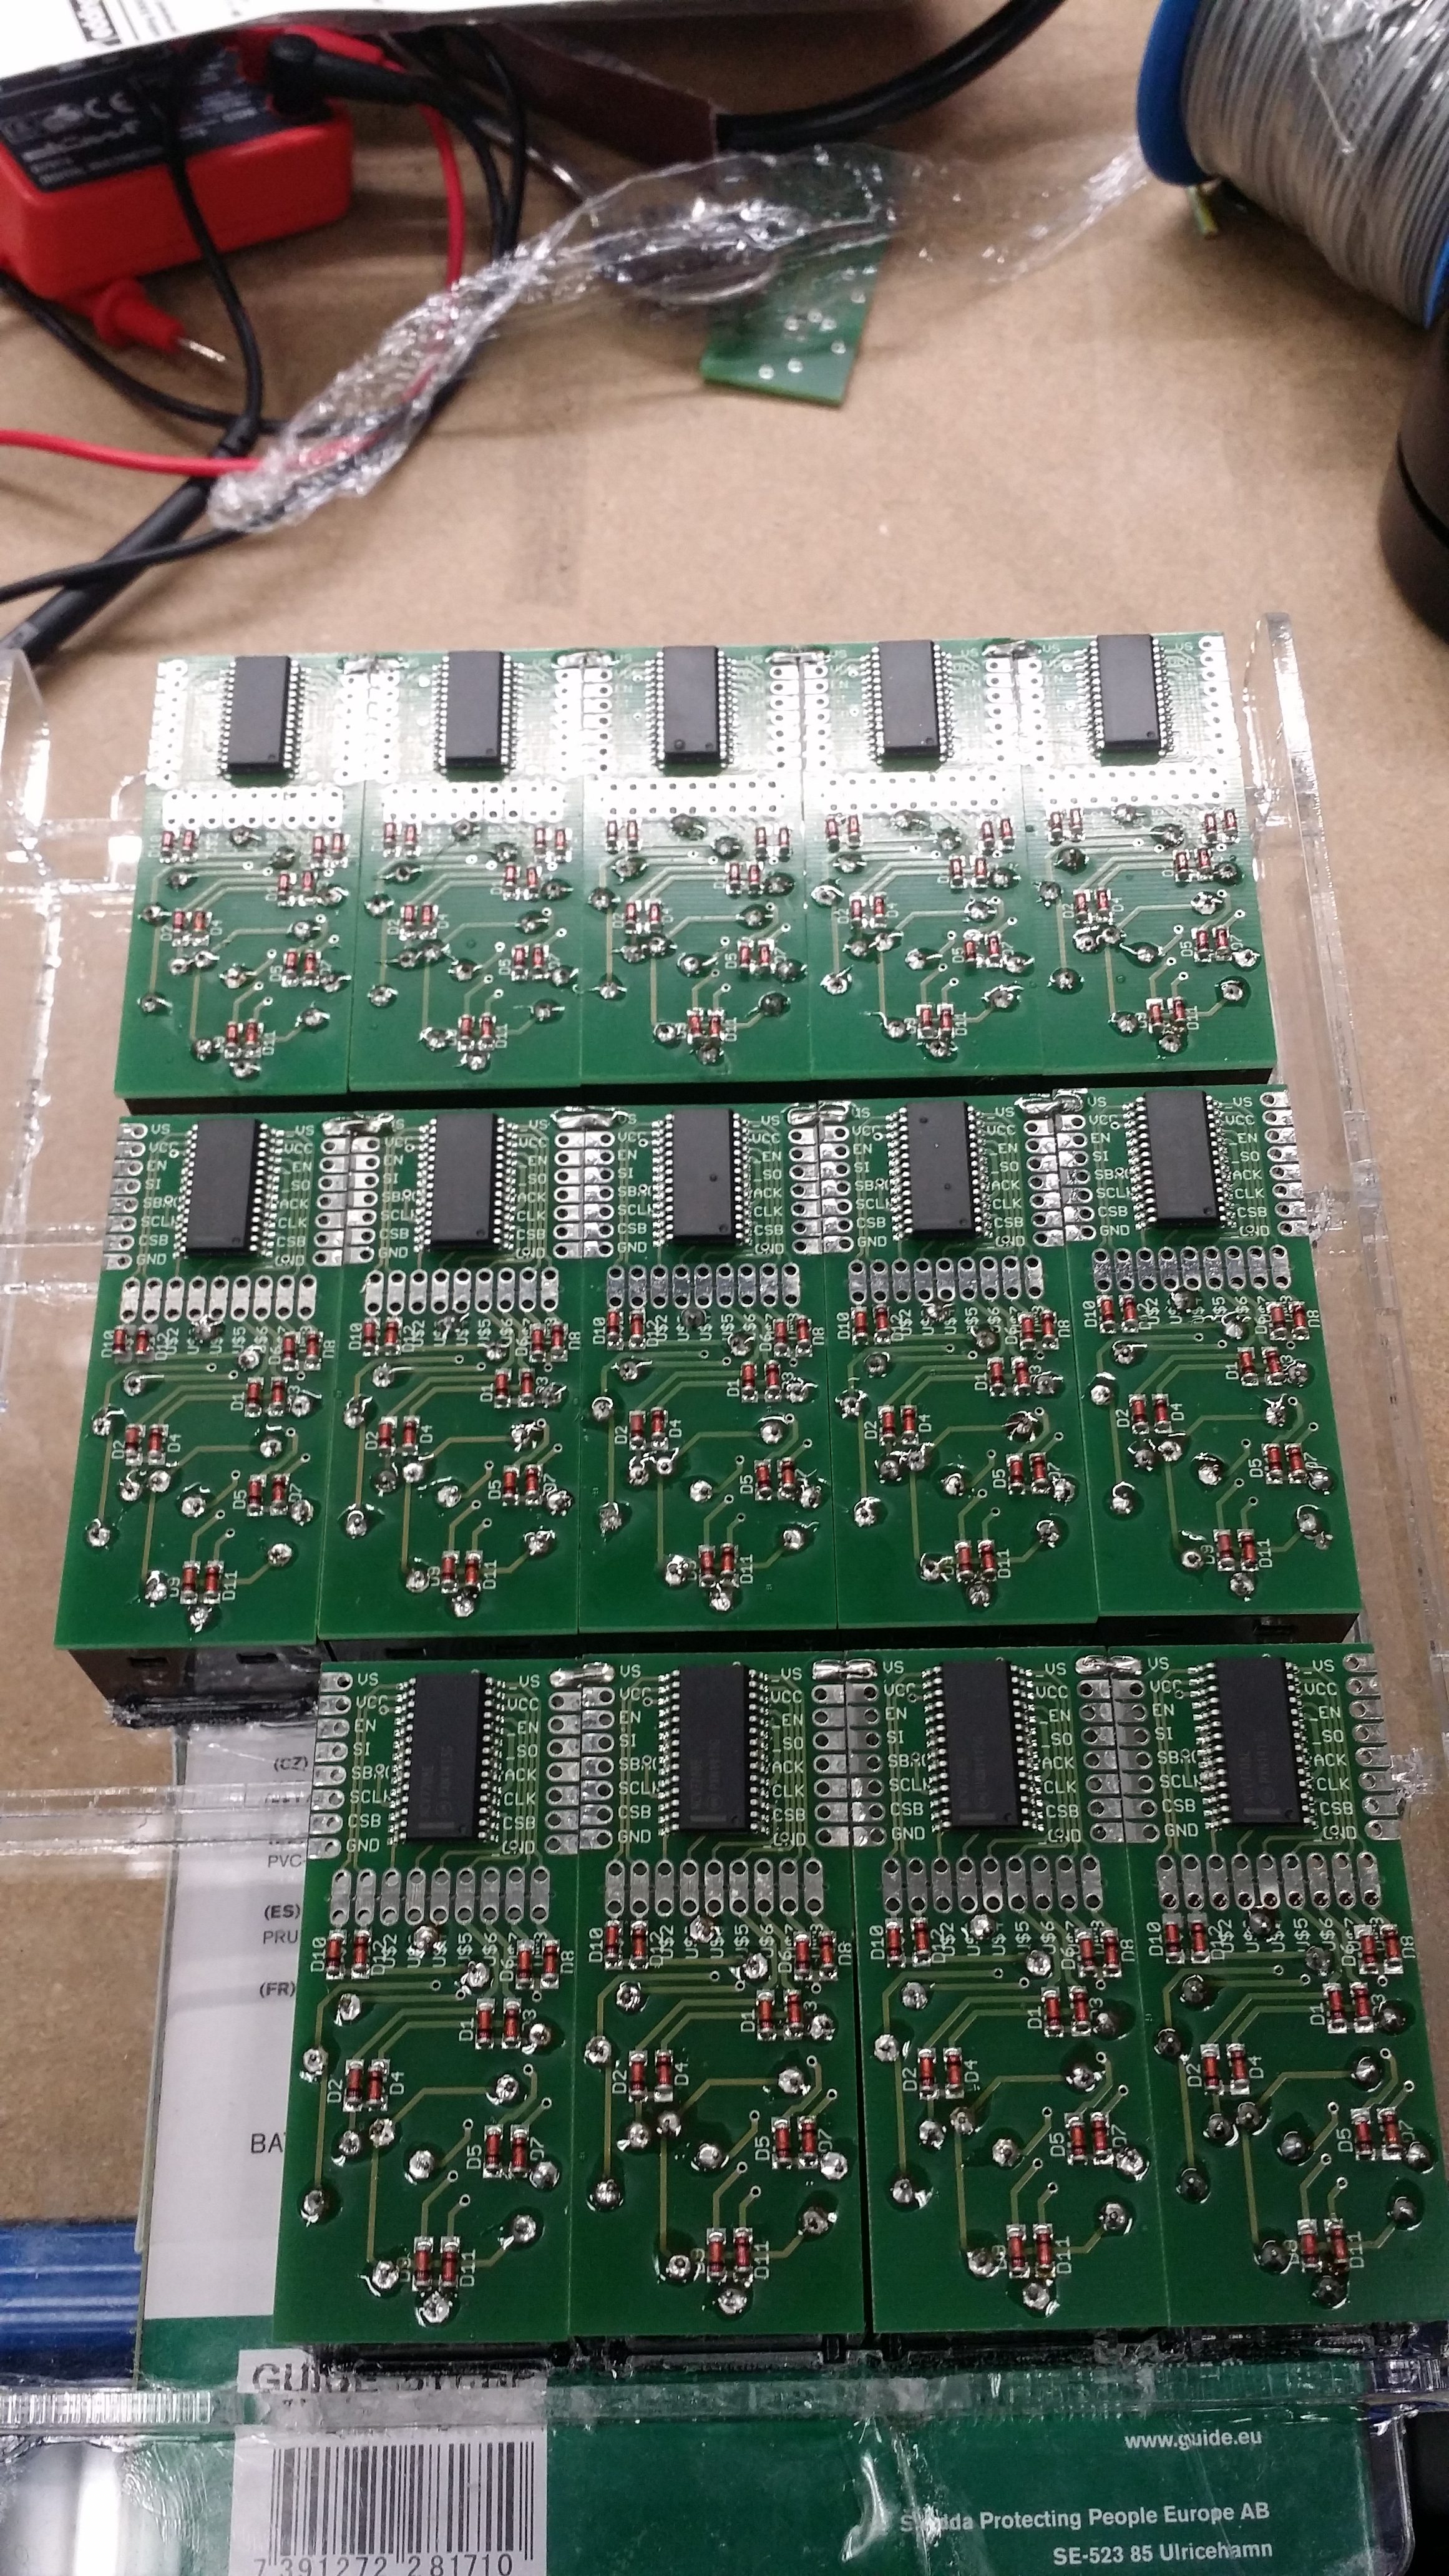
So here is a test PCB. The chip has six half-bridges on an SPI bus. The diodes help decoding the outputs. The top part of the PCBs allows for daisy-chaining the digit modules into multiple digit number displays.
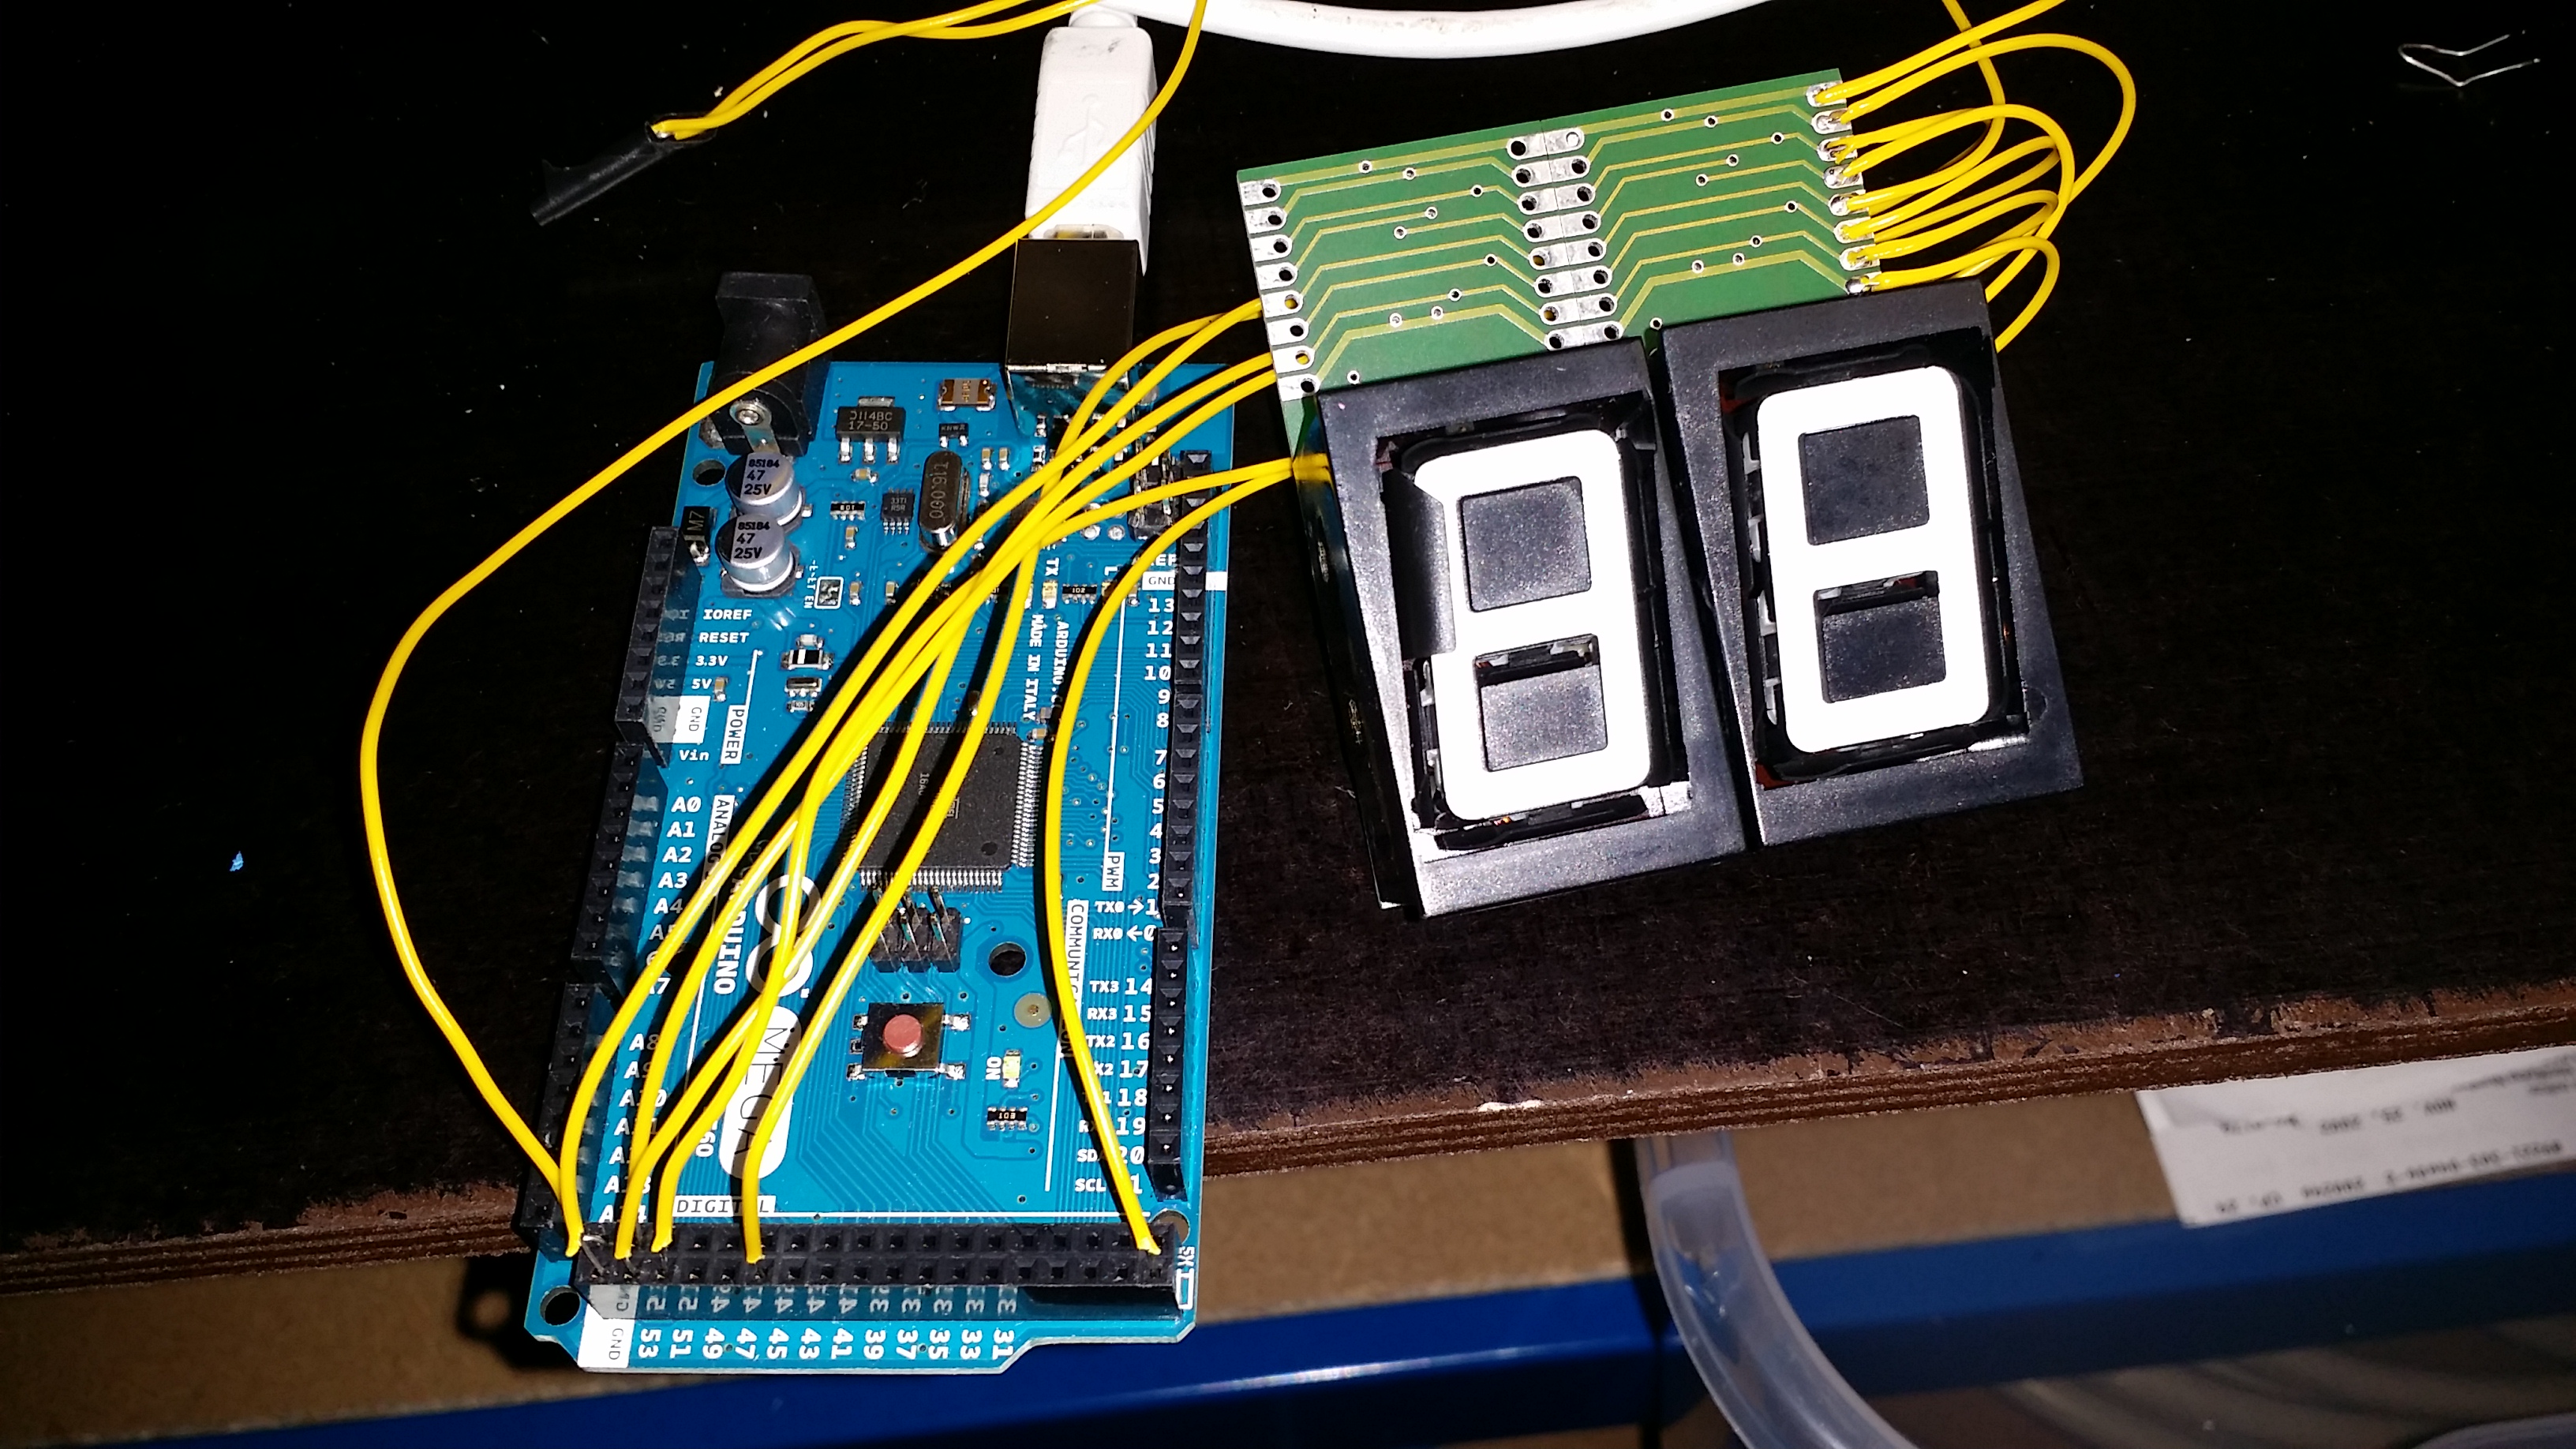
Here are two displays chained together and attached to an Arduino board. The digits can be controlled quickly and simultaneously. Controlling the board is quite simple. There is on caveat: the switching voltage must not be left n for too long, or the coils in the segments will burn out. Better have stable software that does not crash when there is power on the coil!
How not to solder SMD boards.

Here’s help:
Well, I finally got my Pick and Place machine and my Reflow Oven to work. These are the results. MUCH better!
And here is a full display with 5+5+4 modules. The Arduino Micros came today, and I will hook up the SPI bus in the next days. I also ordered the required DIN 5V and 24V power supplies.
The displays are now controlled via USB and need an additional 24V to flip the magnets. A central controller (RasPi) will have four USB devices: WLAN, 2 USB Displays, and a ModBus adapter to read two Smart Meters and control two OpenEVSE charge controllers.
Making Life Easier
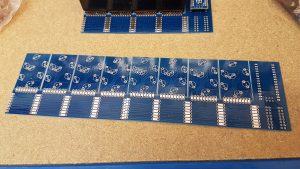
After some annoyance, I decided to have some additional PCBs made. I connected four of the modules in a row, saving me from the time consuming soldering and improving reliability. I also added room for an Arduino Nano and a few pin headers to connect three rows to a single CPU via flat ribbon cable.
Why did I only have four modules on a PCB and not five, you ask? Sigh. The final PCB would have been a few millimeters taller than the Eagle CAD allows in the hobby version. For row 1 and 2, I still have to manually append a module.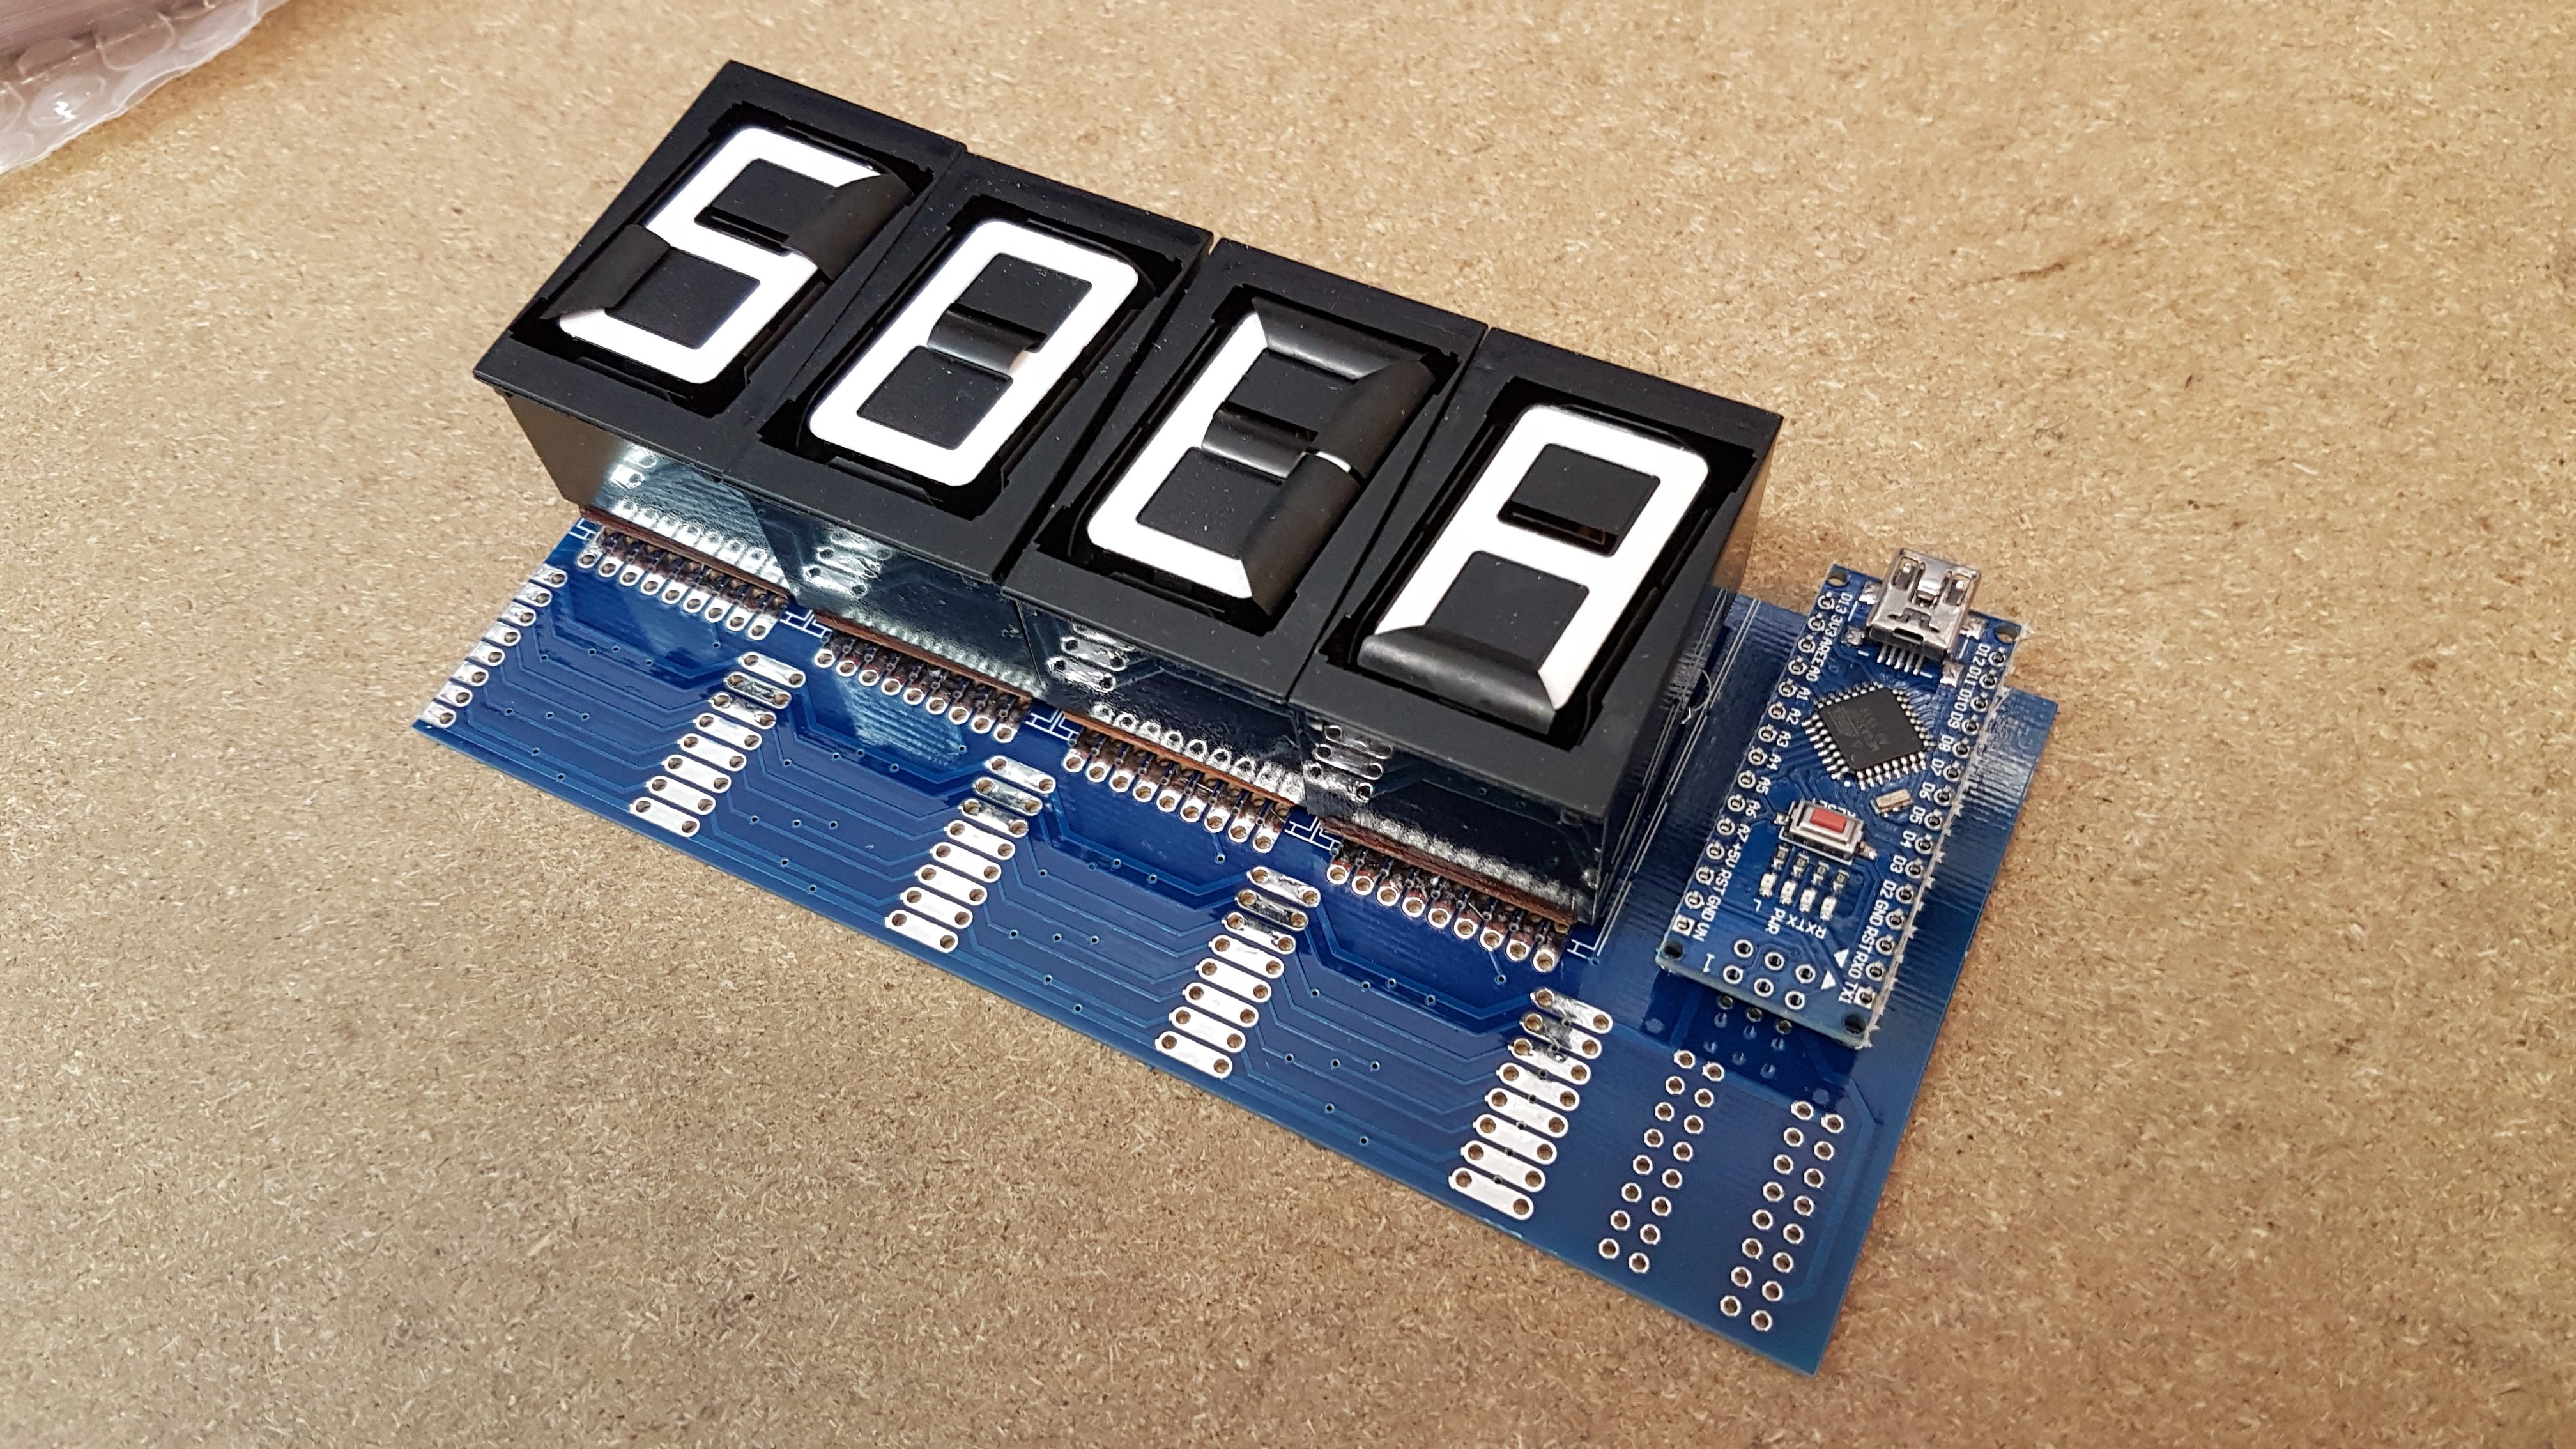
Infinite rows: using the bus system, I can control a large number of displays in a single row.
Now that I have control over every bit in my 14 7-segment displays, I thought it would be neat to output text besides numbers. These display have a rather limited number of character that can be displayed legibly, which is why I whipped up this little script. The description is in German, but it works with English words as well.
Just click this link and enter any word that you would like to see in 7-seg characters. Sometimes, upper or lower case characters are easier to read. The script will give an example in both cases and mixed case.
As an added (German) bonus, the script will also print a number of synonyms that may or may not be easier to read.