Sick – krank

Man, I caught the flu. I feel so sick. The first friends are picking on me because the van is still not running. On top of all this, I ordered the wrong gauge wire 🙁
Au Mann, ich hab mir ne Grippe eingefangen. Ausserdem frotzeln die ersten Freunde, ob denn der Bus je fahren werde. Und zu allem Überfluss habe ich die Kabel im falschen Querschnitt bestellt. Also nochmal 🙁
Wiring – Kabel
Some more parts arrived. I received the contactor and some wires. My first attempt at soldering the connectors is pretty mediocre. And using stranded wire doesn’t help either because is just sucks up all the solder and becomes a solid piece. After a bit of training, everything worked just fine.
Mehr Teile: Das Leistungsschüt und ein paar Kabel sind da. Erste Lötversuche für eien Brücke sind nicht so toll: die Litze zieht sich voller Lötzinn und ist dann nicht mehr flexibel. Das nervt! Aber nach dem zweiten Versuch ging es dann schon viel besser.
Welding – Schweissen
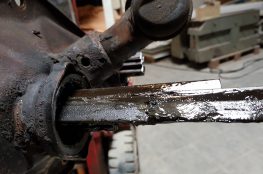
There is no use making any wiring untile the batteries are fixed in their final position. I started welding the battery frame today. My local steel supplier was in an awesome Friday mood and cut all 22 pieces of square tubing for me. Thanks! I only had an electric welder and I am very unhappy with the result. I hope I can get my MIG system running again.
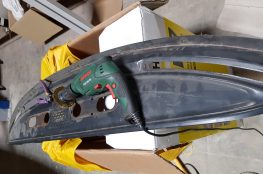
Sorry for the bad photo. The batteries are mounted in trays and held down by a luggage strap. The three boxes on the right are mini chargers.
Es hat keinen Sinn die Kabel zu löten bevor nicht die Batterien fest eingebaut sind. Also habe ich heute den Batterierahmen begonnen. Mein Stahlhändler war wieder super nett und hat mir alle 22 Rohre auf die richtige Länge geschnitten. Danke! Nur mit der Elektroschweissgerät stehe ich total auf Kriegsfuss. Ich hoffe, ich kann mein altes MIG Gerät zum Laufen bringen… .
Schlechtes Foto, aber man sieht so ein bisschen, wie die Batterien mit Bändern in Kästen gehalten werden. Die drei Geräte links sind die kleinen Ladegeräte.
Next: Mounting the Electronics – Elektronik einbauen
With the batteries mounted and connected in groups of four, I suddenly start to feel some respect for the power that can be released by those little lead boxes (3x8kW). I am also getting a much better picture on how to connect all those circuits. There will be a 400V area for power charging, a 230V circuitry for slow charging, a 144V power setup for the drive train, and of course the 12V for the original electrics. Oh, I almost forgot lines for the pot box and computer data to program the controller and chargers.
Mit jeweils vier Batterien in Serie habe ich dann doch plötzlich ganz schön Respekt vor der Kraft, die in den kleinen Bleikisten steckt (3x8kW). So langsam habe ich auch einen guten Plan, wie ich die Schaltkreise aufbaue. 400V zum schnell Laden, 230V zum langsam Laden, 144V für den Motor, 12V für den Rest des Wagens, und natürlich noch ein paar Datenleitungen für den Geschwindigkeitsregler und die Ladegeräte.
Wires – Kabel
Today I had a little spare time to create the remaining 144V wires.I used 6 meters exactly.
Heute hatte ich etwas Zeit um die 144V Kabelstücke zu konfektionieren. Ich habe genau 6 Meter verbaut.
First Ride – die erste Fahrt
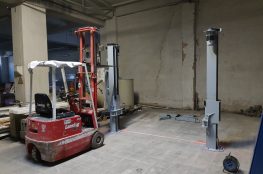
I had exactly 15 minutes for a quick test: I hooked up one pack at 48V and shifted into neutral. The motor spun up quite quickly! Then I put the car in third and drove for a few meters up and down the store. Nice! I can’t wait to have a real gas pedal and 144 volts… .
Ich hatte eine viertel Stunde um nochmal ein wenig zu testen. Mit einer Batteriebank (48V) drehte der Motor im Leerlauf ganz schön auf. Dann bin ich im dritten Gang noch ein wenig in der Halle auf un ab gefahren. Ich freue mich schon auf das Gaspedal und volle 144 Volt… .
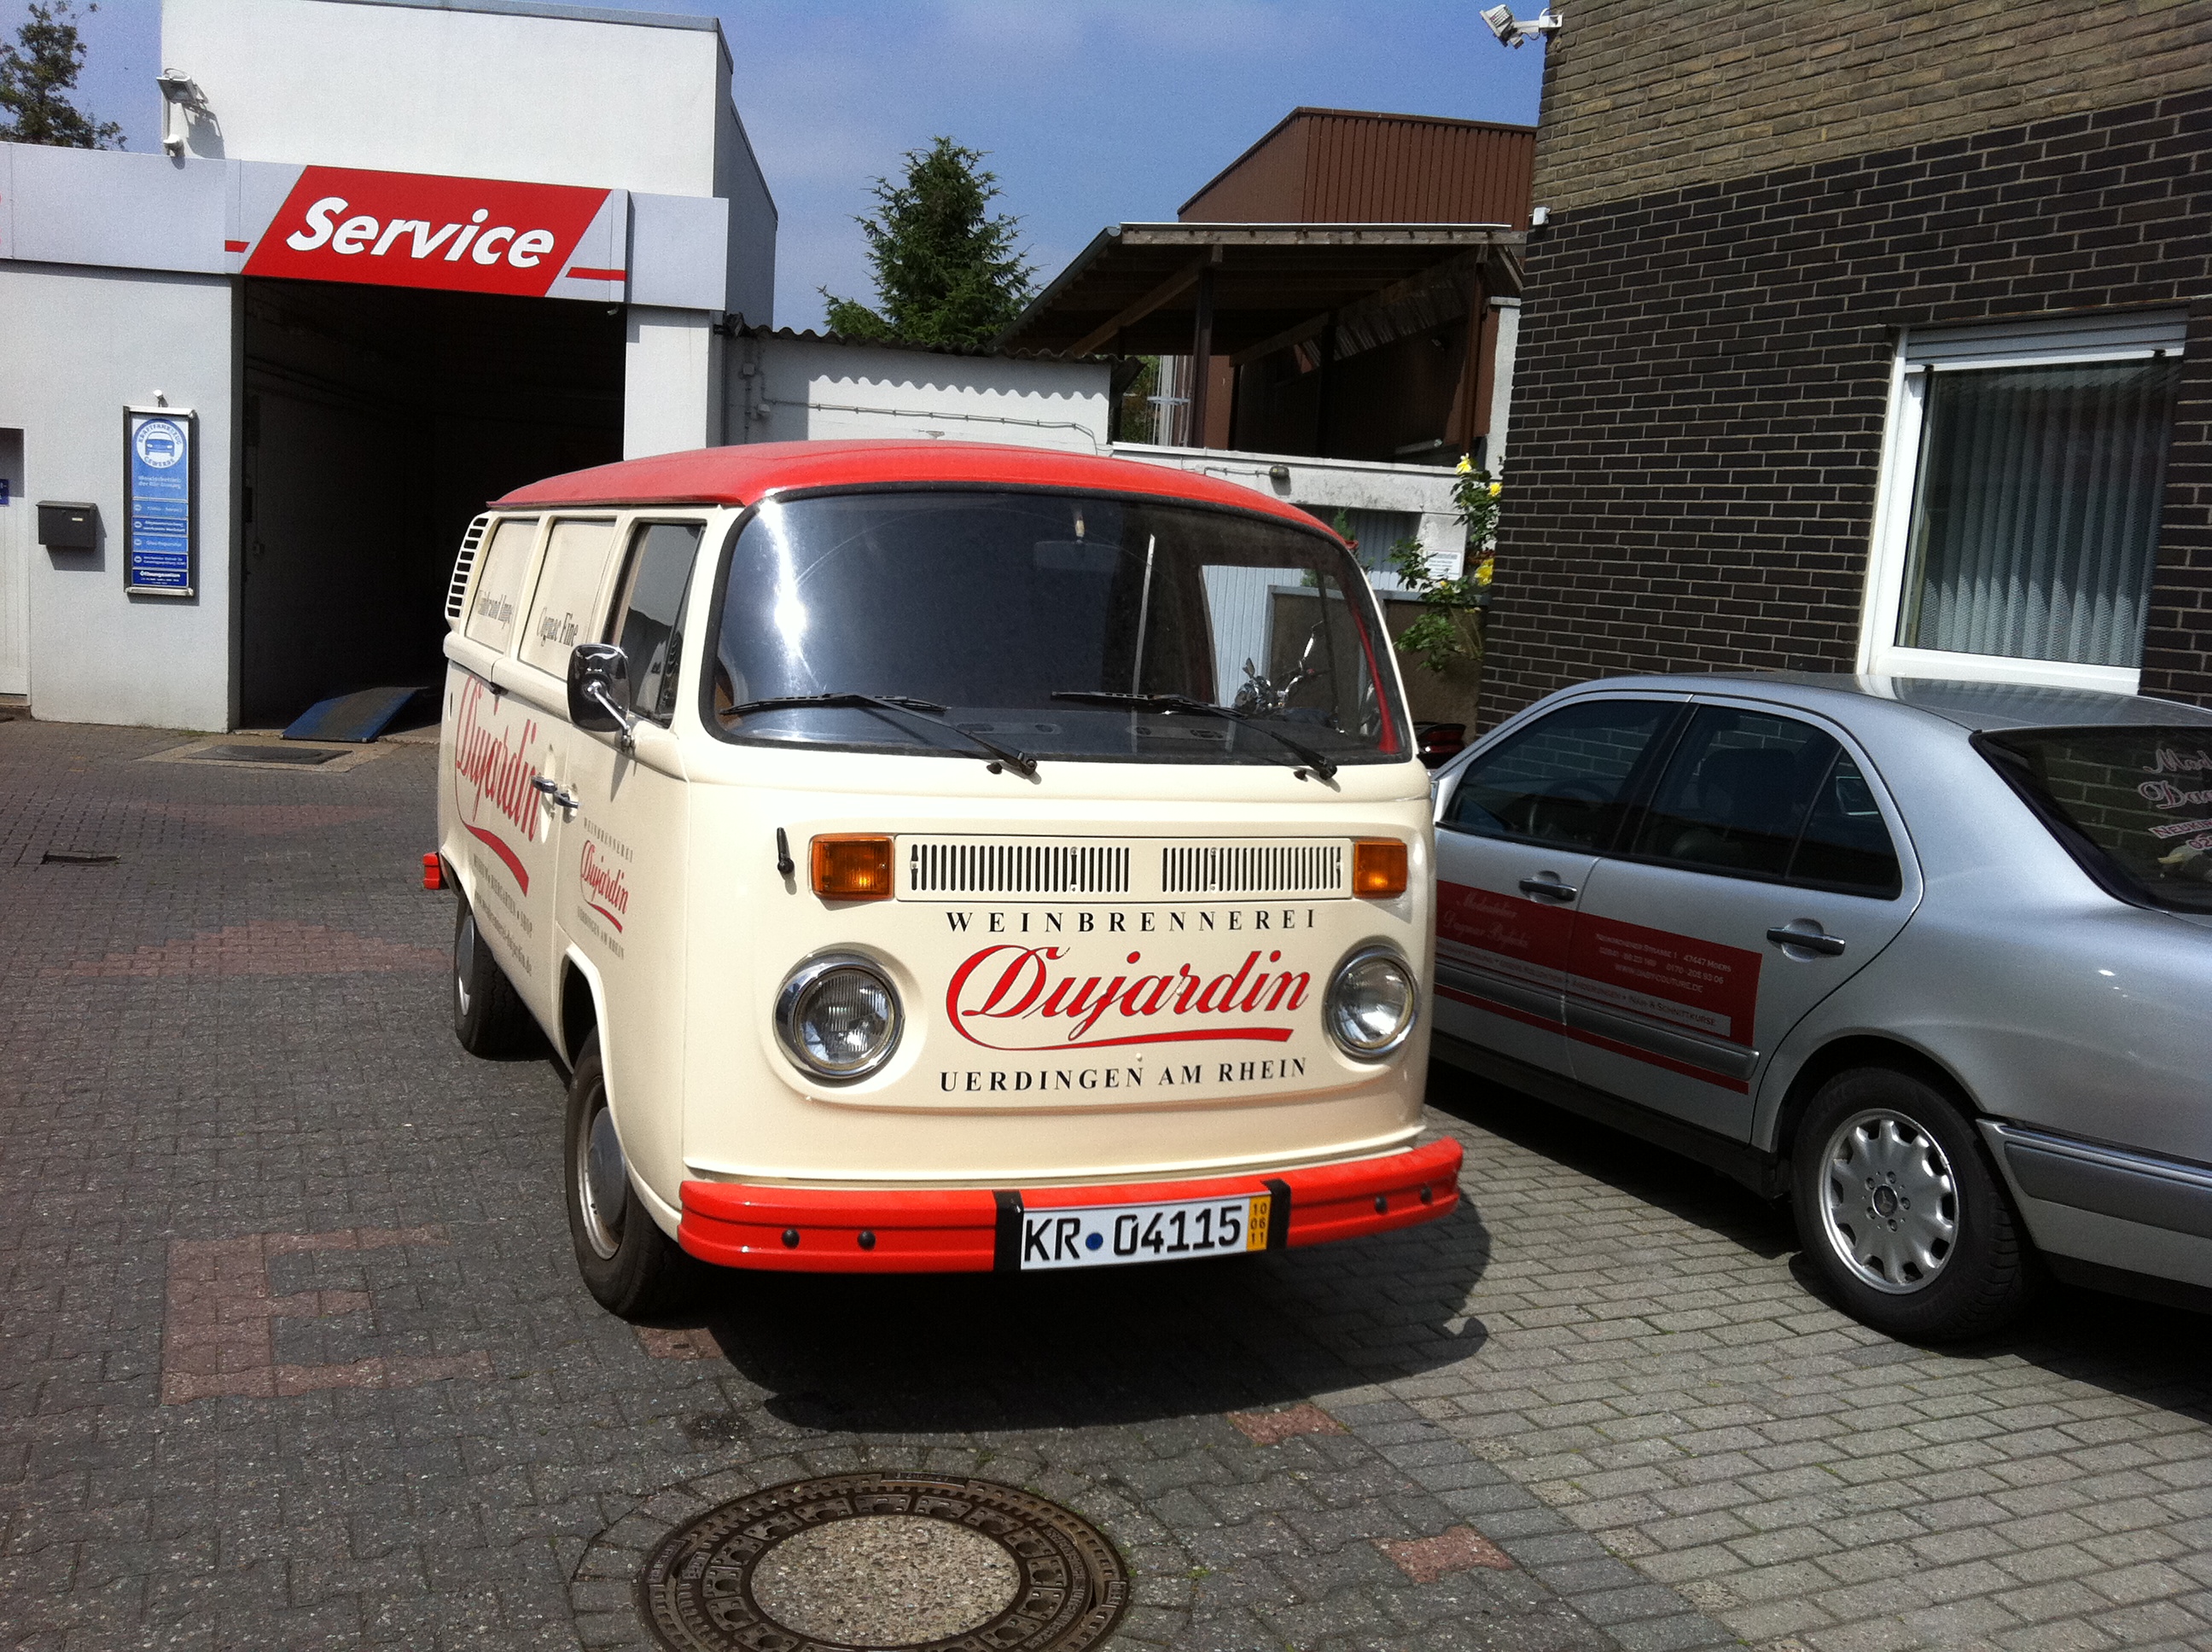
First Street Drive – erste echte Probefahrt
I had a great first run. The car accelerated to 60 km/h with ease, but I decided to not go any faster until further testing. The speed controller needs to be reprogrammed, and I also need to hook up the 12V system, or I won’t even have brake lights.
Die erste tolle Fahrt: ich war schnell auf 60 km/h, bin dann aber ohne weitere test nicht schneller gefahren. Ausserdem muss der Controller noch programmiert werden, und ohne 12V System funktionieren ja noch nicht einmal die Bremslichter.
Battery mounts – Batterienbefestigung
I finally got around to mounting the batteries. The VW Vans are built very sturdy and have a nice platform. I decided to weld a battery rack onto the floor and hold the batteries down with nylon straps. I should probably add a lid on that.
Endlich habe ich die Batterien festgezurrt. Auf der stabilen Ladefläche des VW habe ich Fächer aus Stahlrohren gemacht und das ganze mit Nylonriemen festgezurrt. Ich sollte all das wohl noch mit einer Platte abdecken.